5 Quick Posing Tips from Your Favorite Greek!

In a whole year and fifty blog posts, I’ve somehow never written a single post dedicated to posing in front of the camera.
Maybe it’s because I’ve tended to find most posing-advice articles impractical or unhelpful, or just generally overwhelming leading up to a shoot—too much information to memorize that will just fly out of my head the second I’m expected to do something in front of the camera. Or maybe it was because I spend so much time behind the camera these days that I’ve not felt how urgent this topic can be.
However, recently, in anticipation of launching another brand (more on that a little further down!), I’ve had to get in front of the camera a lot. And in light of this experience, I realize it really is time I talk about posing—the Do’s, the Don’ts, and the In-Between.
Although there’s much more I could discuss than the following five tips, I believe these are the kinds of tips anyone can apply, regardless of age, body type, or gender, and they’re a good foundation for everything that comes after. If you can master these with confidence, you’ll be well on your way to getting confident and creative with more elaborate poses that just “work.”
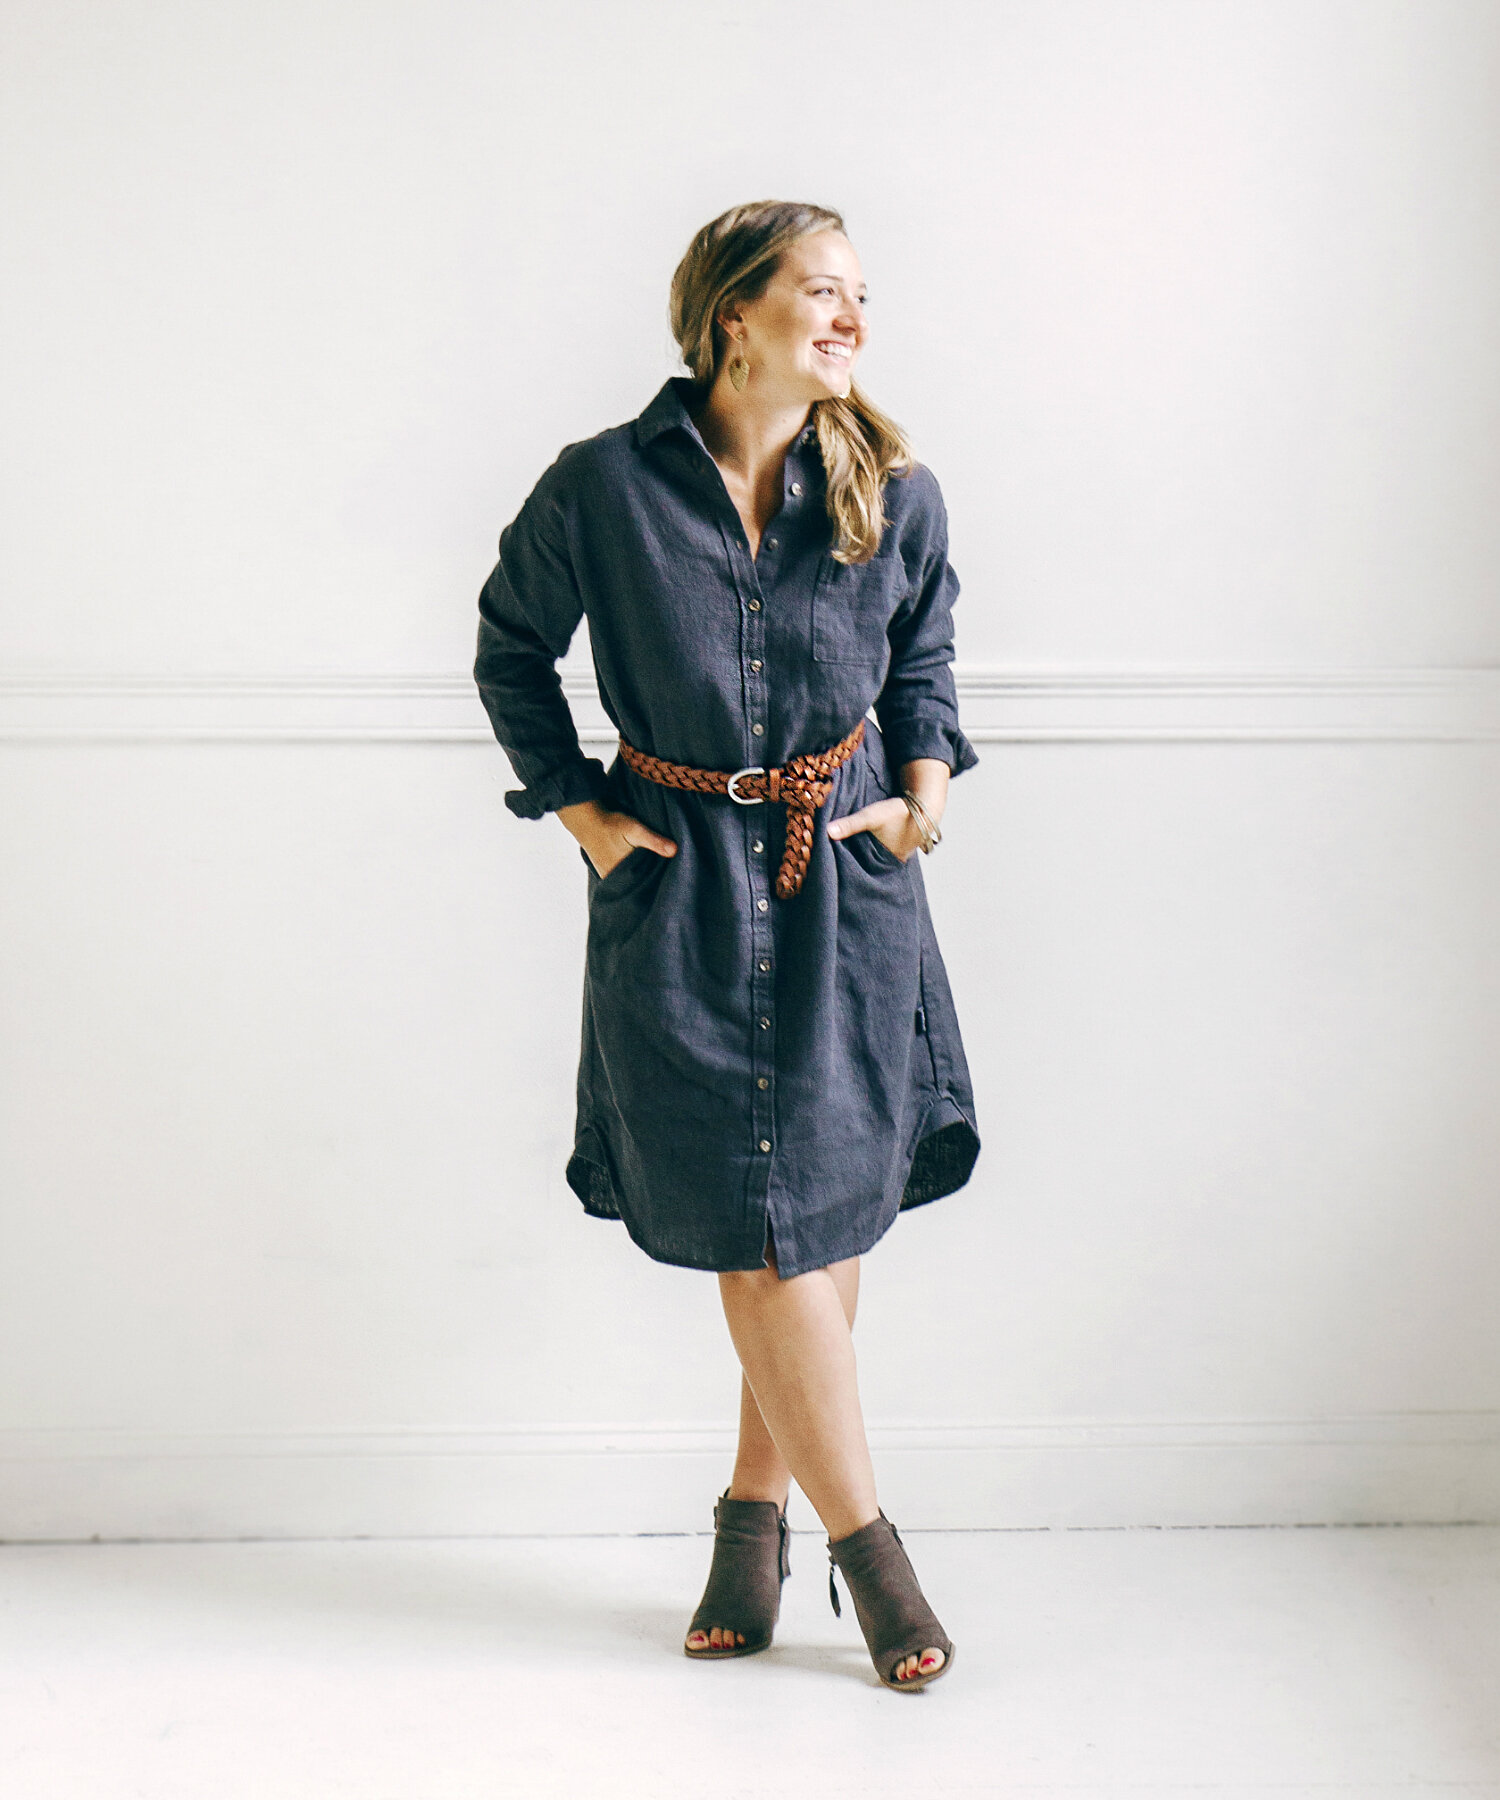
QUICK TIP #1 - PLAY UP WHAT YOU LOVE OVER PLAYING DOWN WHAT YOU DON’T

Many beginners in front of the lens focus too much on what they don’t like about themselves, rather than what they love. Then they end up feeling self-conscious the whole shoot; not to mention, it generally leads to mistakes before the photography even begins, like wearing baggy clothing to cover body parts that carry some kind of shame—which can make that part look bigger and more obvious on camera—and posing in ways that tell the onlooker, “I’m embarrassed about my [fill in the blank].”
It’s a better idea to play up the parts of you that you actually like, and find ways to draw attention to them, than to try to cover up what you don’t like. For example, if you’re a woman who always gets compliments on her smile, then wearing shiny gloss or an appropriate lip color will cause your photographer to instinctively want to capture that area. It will also make you more confident when you leave the house for your shoot—more able to believe you’re beautiful and feel confident and relaxed for your photographer.
As for this idea extends to posing, well: Say you’re that same gal with the great smile. You can suggest poses that will allow the photographer to focus on your face, such as holding a mug up with both hands, elbows on the table, at a coffee shop—or looking over your shoulder with a big grin while you run a hand through your hair. Where the motion, activity, and hands are in a pose will help determine where the eye goes in the final image—so pick a few things you love, and position your body to show off those things.
QUICK TIP #2 - CREATE NEGATIVE SPACE WHERE LIGHT CAN PASS THROUGH

Far fewer people want to look heavier on camera than want to look lean—so if you fall into the minority, this tip probably isn’t for you. Feel free to skip ahead.
The notion that “the camera adds ten pounds” isn’t grounded in nothing. An image is just a two-dimensional representation of a three-dimensional reality, and while a photographer can create a sensation of movement in an image, at the end of the day, a photo will always be flat and unmoving. This in itself means that a person looks flatter and wider in a photo than they do in real life; when you see a person moving around, you can get an accurate sense of how much space they actually take up, where the dips and crevices are that aren’t part of their overall mass. In a photo, you can’t, unless it’s manufactured for the onlooker’s benefit in advance.
In order to take those “ten pounds” back off, you’ll want to create negative space—to find and expose dips and crevices for the onlooker to see, “Oh, this person actually doesn’t occupy so much space.” Some really easy ways to do this are:
Place one hand on your hip—this creates negative space between your elbow and waist, a crevice where light can pass through. When your arms hang at your sides, it makes your overall body width seem greater.
Stance your legs apart—for standing poses, this creates negative space in a triangle between yourself and the floor (as long as you aren’t wearing a maxi skirt). This tends to make legs look longer and leaner.
Pivot your body about 45 degrees away from the camera so you’re not facing it dead-on—this keeps you from showcasing your ribcage and hips from their widest visual standpoint. Think about a box of cereal—when you see it from the front, it’s at its widest standpoint, but if you pivot it about 45 degrees, you can still see the face of the box and it doesn’t look quite so wide. Same idea with your body.
QUICK TIP #3 - STOP, DROP, AND ROLL

Not like when you need to put out a fire on your clothing! This is just a way to check yourself every few minutes to make sure you’re generating more photos overall that you can choose from. Here’s what each step means:
Stop. When you’ve been posing in the same place or in the same outfit for more than a couple minutes, be sure to stop, breathe a few deep breaths, and take inventory on how tense or relaxed you feel. If you feel tense or anxious, proceed to step 2.
Drop. Drop your eyebrows and your shoulders. Especially if you’re in a loud place, the photographer doesn’t talk much, or the camera shutter is quiet, you as a subject can start to wonder if the photographer is still taking pictures, if you have time to switch positions, or if any of your poses/faces are even working. When this happens, you’re subconsciously likely to lift your eyebrows or tense your shoulders. Breathe, and drop them back down. You don’t want to get a bunch of pictures back where you look like a nervous basketcase!
Roll. Roll your hips and shoulders back. Don’t carry your weight in your hips! When you carry your weight in your hips, it’s usually also when your shoulders are hunched—and when your hips are thrust forward like this, it can give you a stomach pooch, shorten your torso and neck on camera, and just generally make you look sloppy.
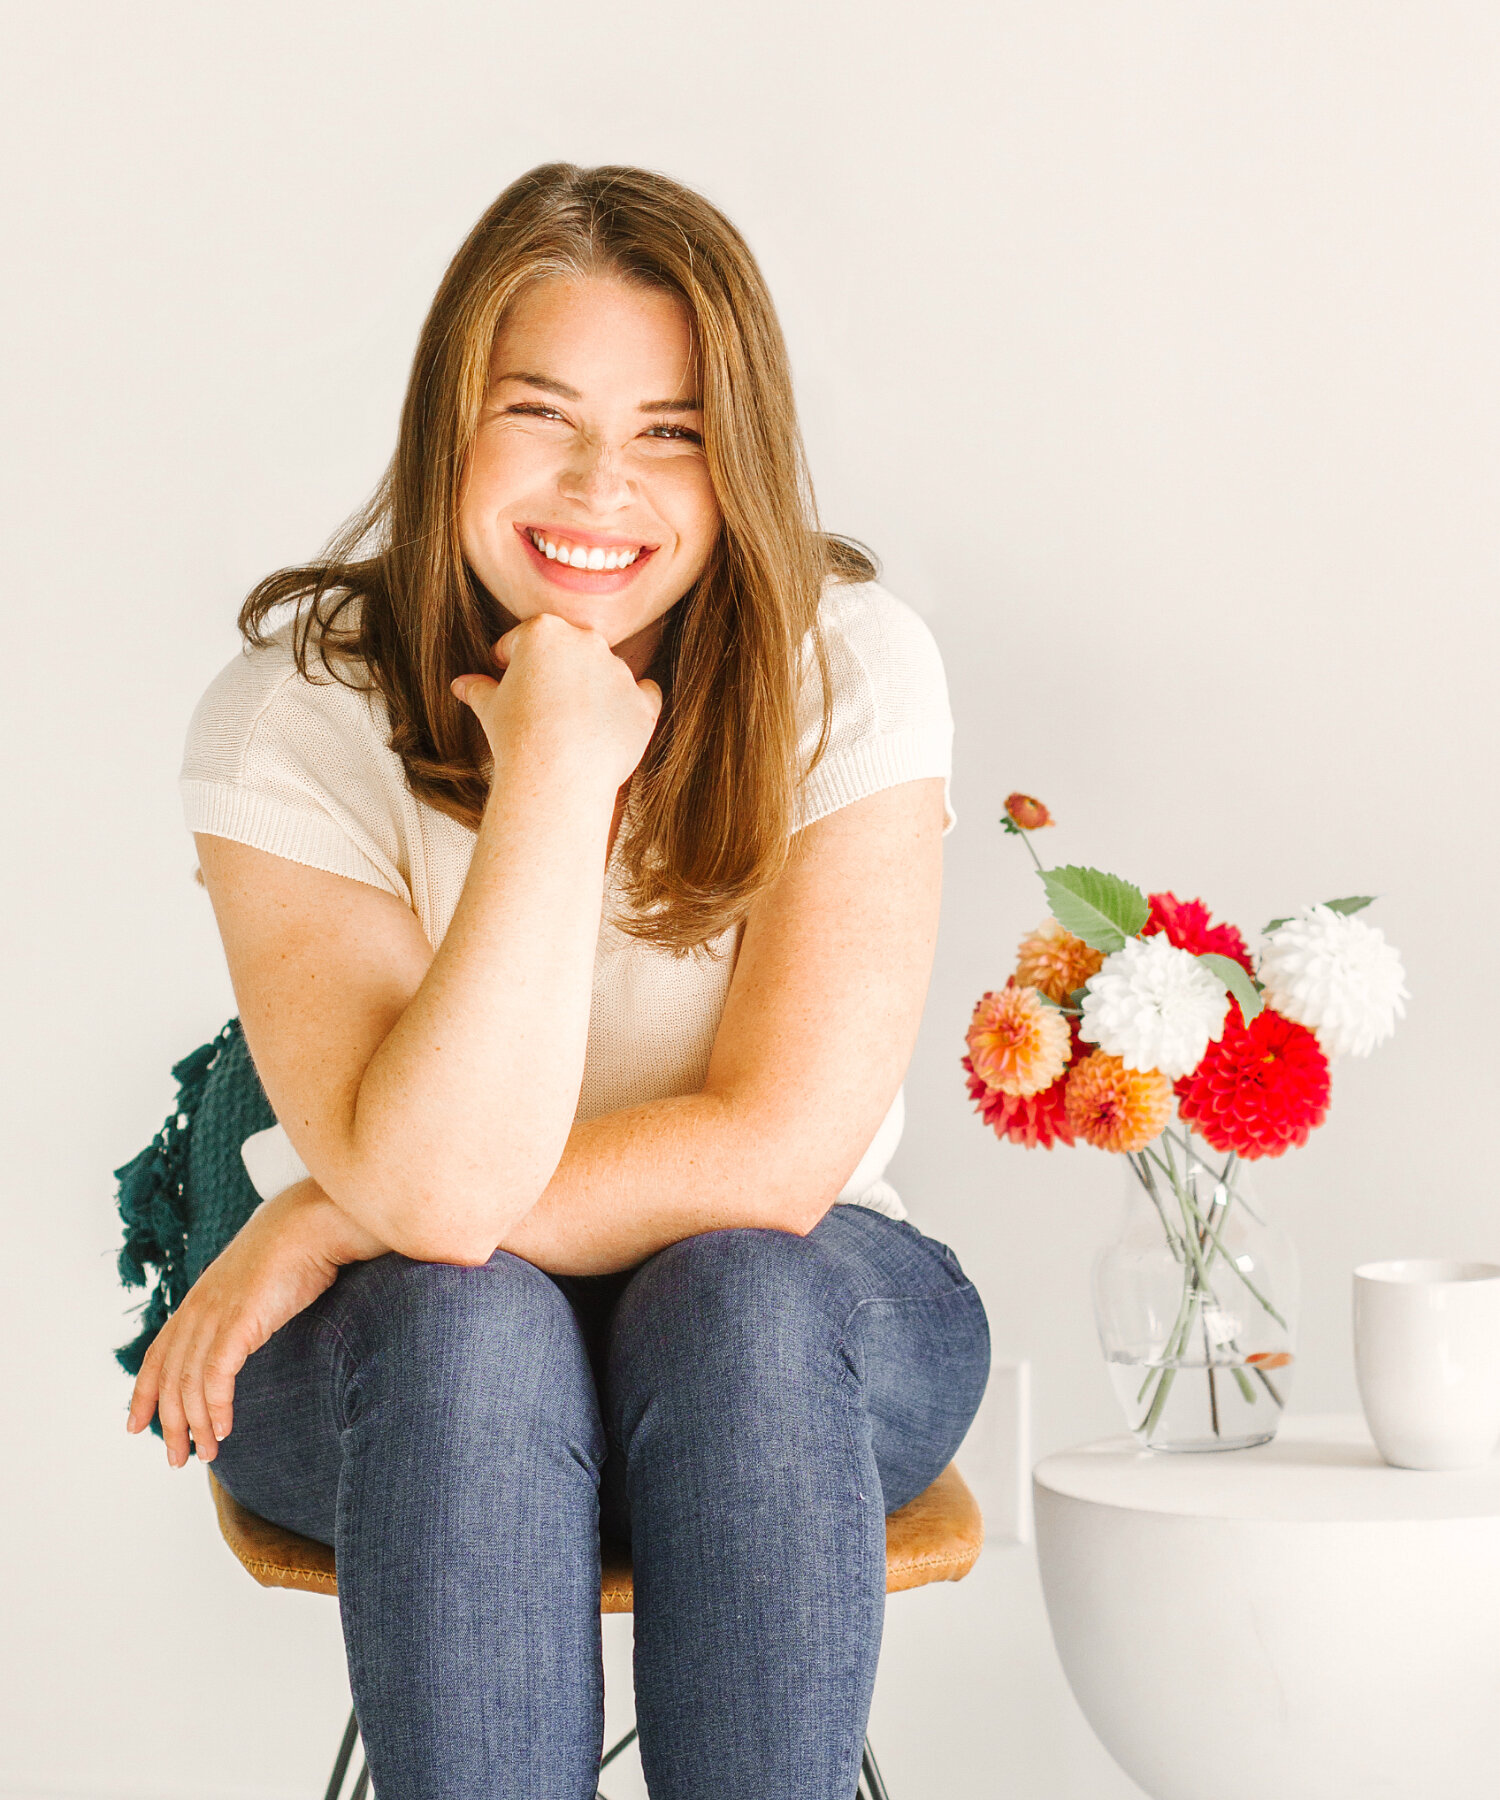
QUICK TIP #4: WHEN YOU SIT FOR A PHOTO, LEAN FORWARD, NOT BACKWARD.

The expression “sit back and relax” really seems to be a cue my subjects crave during our shoots. The moment I set them up in a comfy chair or on the couch, a lot of their self-consciousness and tension seems to disappear, and they lean back and all that over-alertness goes out the window.
Unfortunately, this might be the one scenario where relaxing might not a good thing, at least through the eyes of a camera. “Sitting back” automatically puts the bottom half of a person a lot closer to the camera than the top half, often resulting in the effect that they weigh about 30 pounds more than they do in real life.
Fortunately the correction for this problem is pretty simple: Just lean forward instead of backward! Don’t hunch your shoulders; keep your back straight and your shoulders squared, but other than that leaning forward is going to “fix” that illusion pretty quickly. If you can get your knees high enough to rest one or both of your elbows on them—or do a makeshift cross-legged position where you can rest your arms—this will give you a place to put your hands that feels natural.
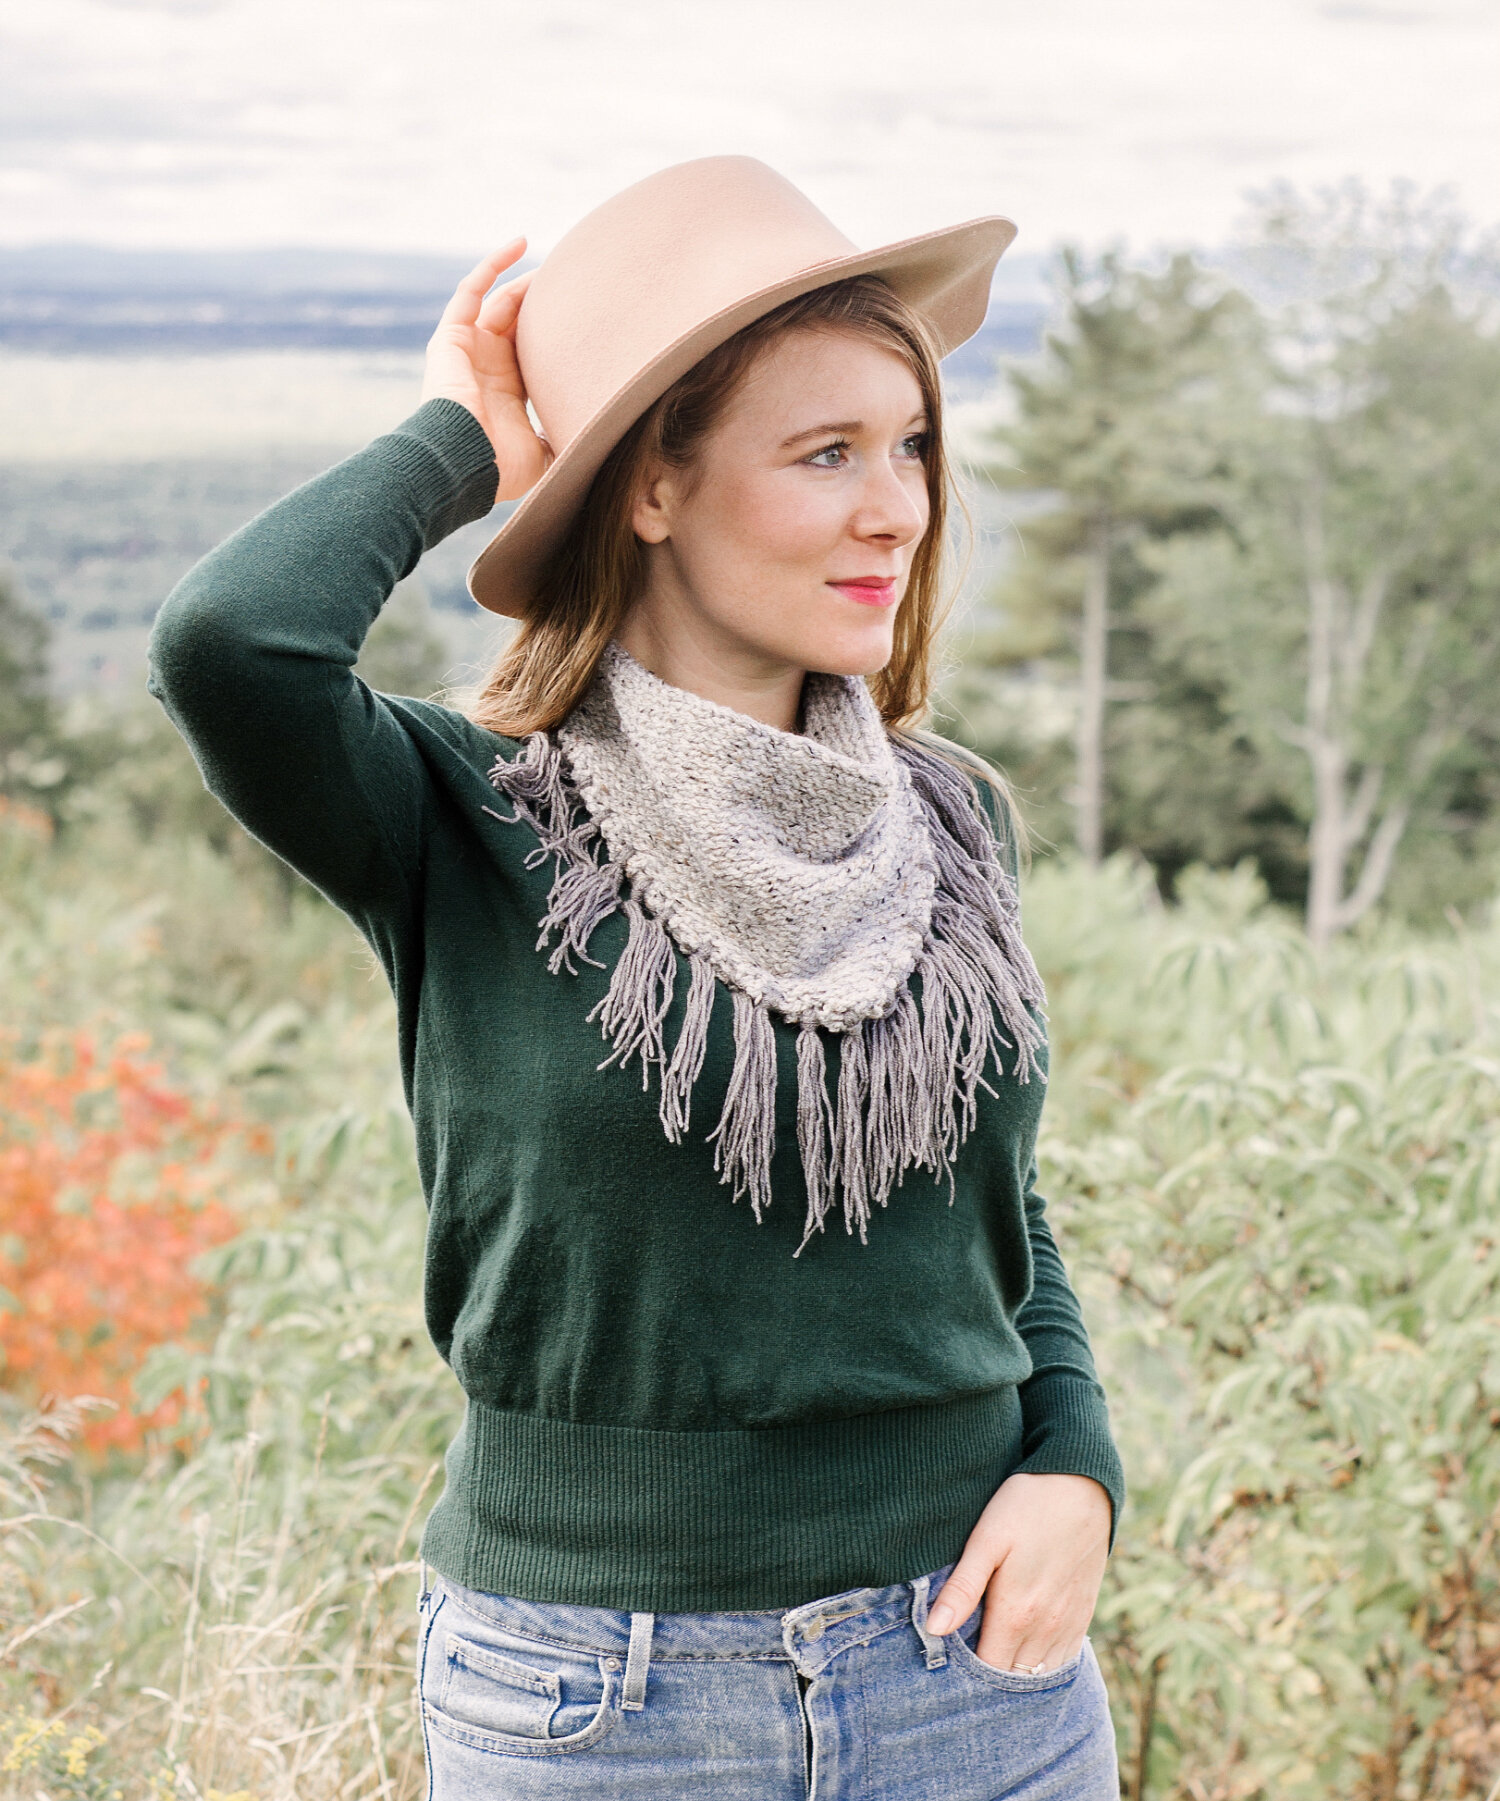
QUICK TIP #5: DON’T SHY AWAY FROM THE PROFILE SHOT.

Profile shots are often overlooked with content creators and photographers who are beginners, which is too bad because they’re a great option that more people would probably glad they utilized once they got their photos back if they’d had the option in the first place.
Scientifically we have confirmation that no face is perfectly symmetrical, and for most of us, we’re actually pretty significantly A-symmetrical. We also know that the human brain automatically “corrects” most asymmetries on the faces we interact with—including our own when we look in the mirror. It does a little extra work to make the face look “right.”
When we look at a person’s facial profile, though, asymmetries aren’t something that the brain has to correct. It can simply enjoy what it’s seeing.
This is true for the casual onlooker and for the subject, too, because our brains automatically correct what we see in the mirror every morning, and that’s a reverse version of what we see when we look at ourselves in photographs. When we see ourselves in photographs, our brains have to work about 10X harder to correct the errors, because the file the brain has saved for correcting this particular face doesn’t work when it’s not the version it always sees in the mirror.
Just take my word for it!
A FEW MORE SUGGESTIONS, AND A GALLERY OF EXAMPLES
Here are just a few more tidbits that might help you on your next shoot:
If you’re crossing your legs, the leg which is closer to the camera should be the leg that is over, not under.
If your hands are in your pockets, always remember: Thumbs out!
If you’re leaping, walking, or otherwise moving and being captured from a side angle, the leg that’s closer to the camera should be the one that is extended in front of you.
Every time you hear the shutter click, adjust something small—where one hand is, for example, or whether your smile is open or closed. Do as many micro-changes as you can think of before making any dramatic movements.
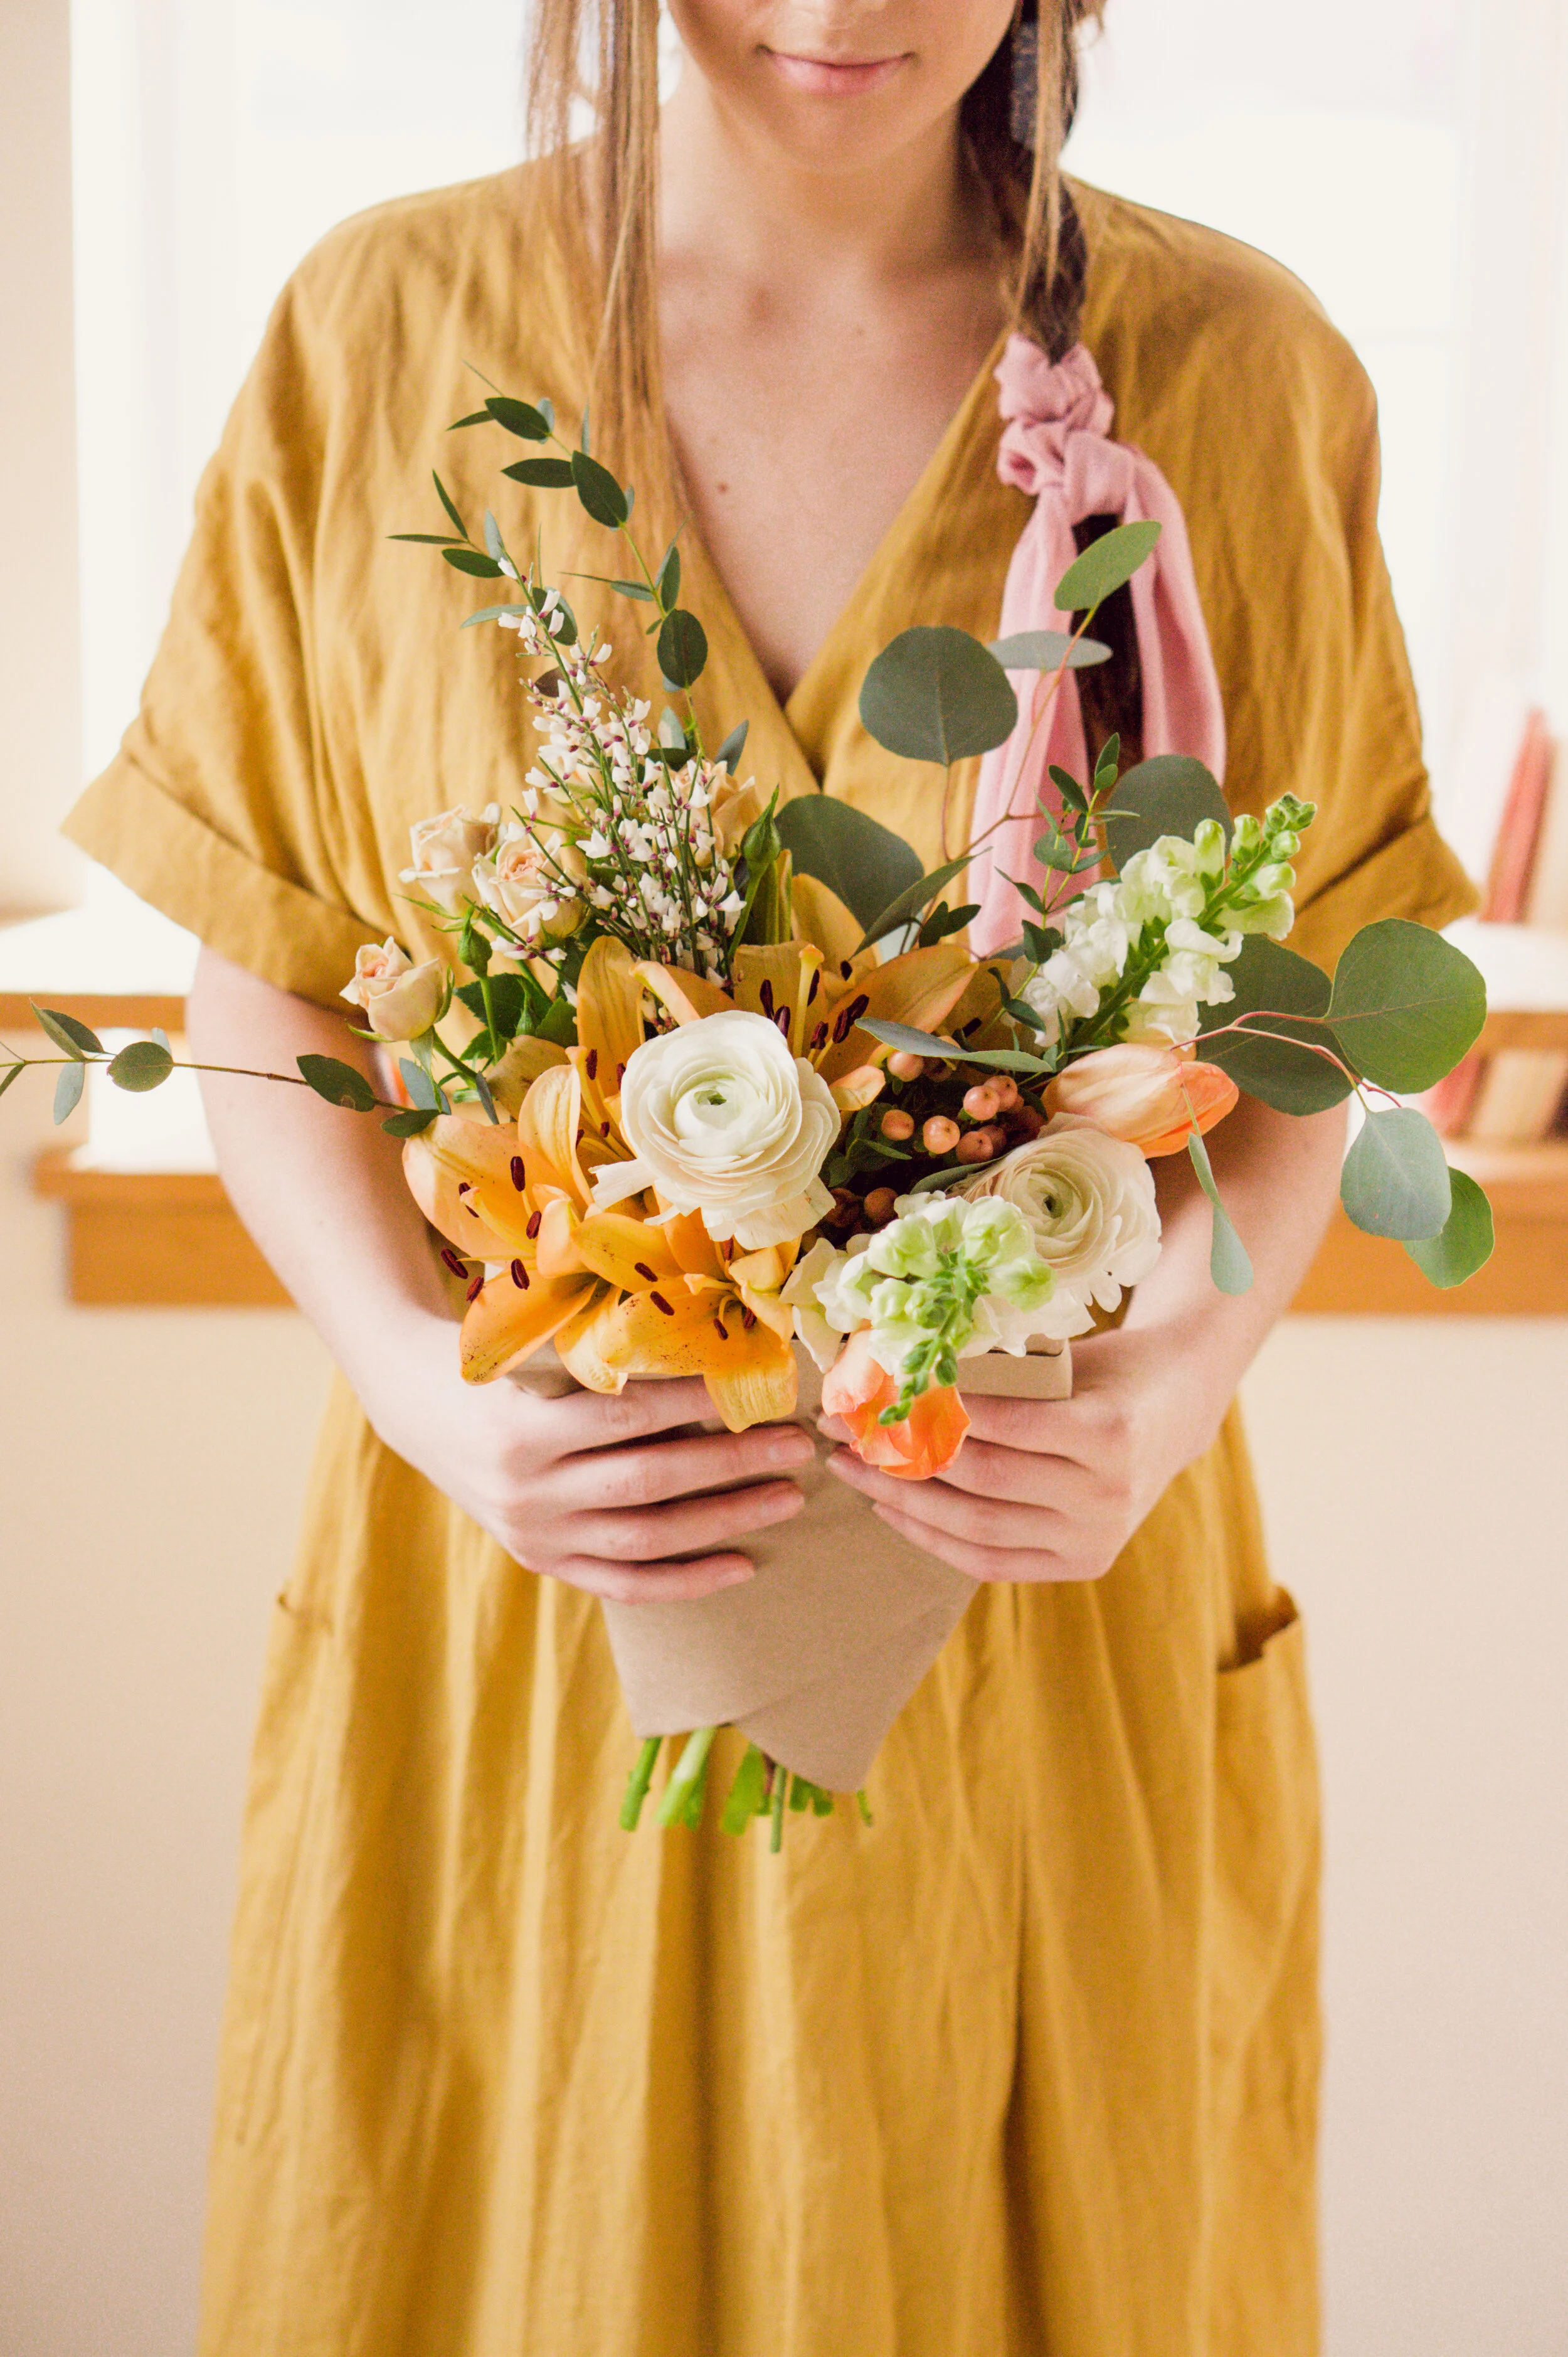
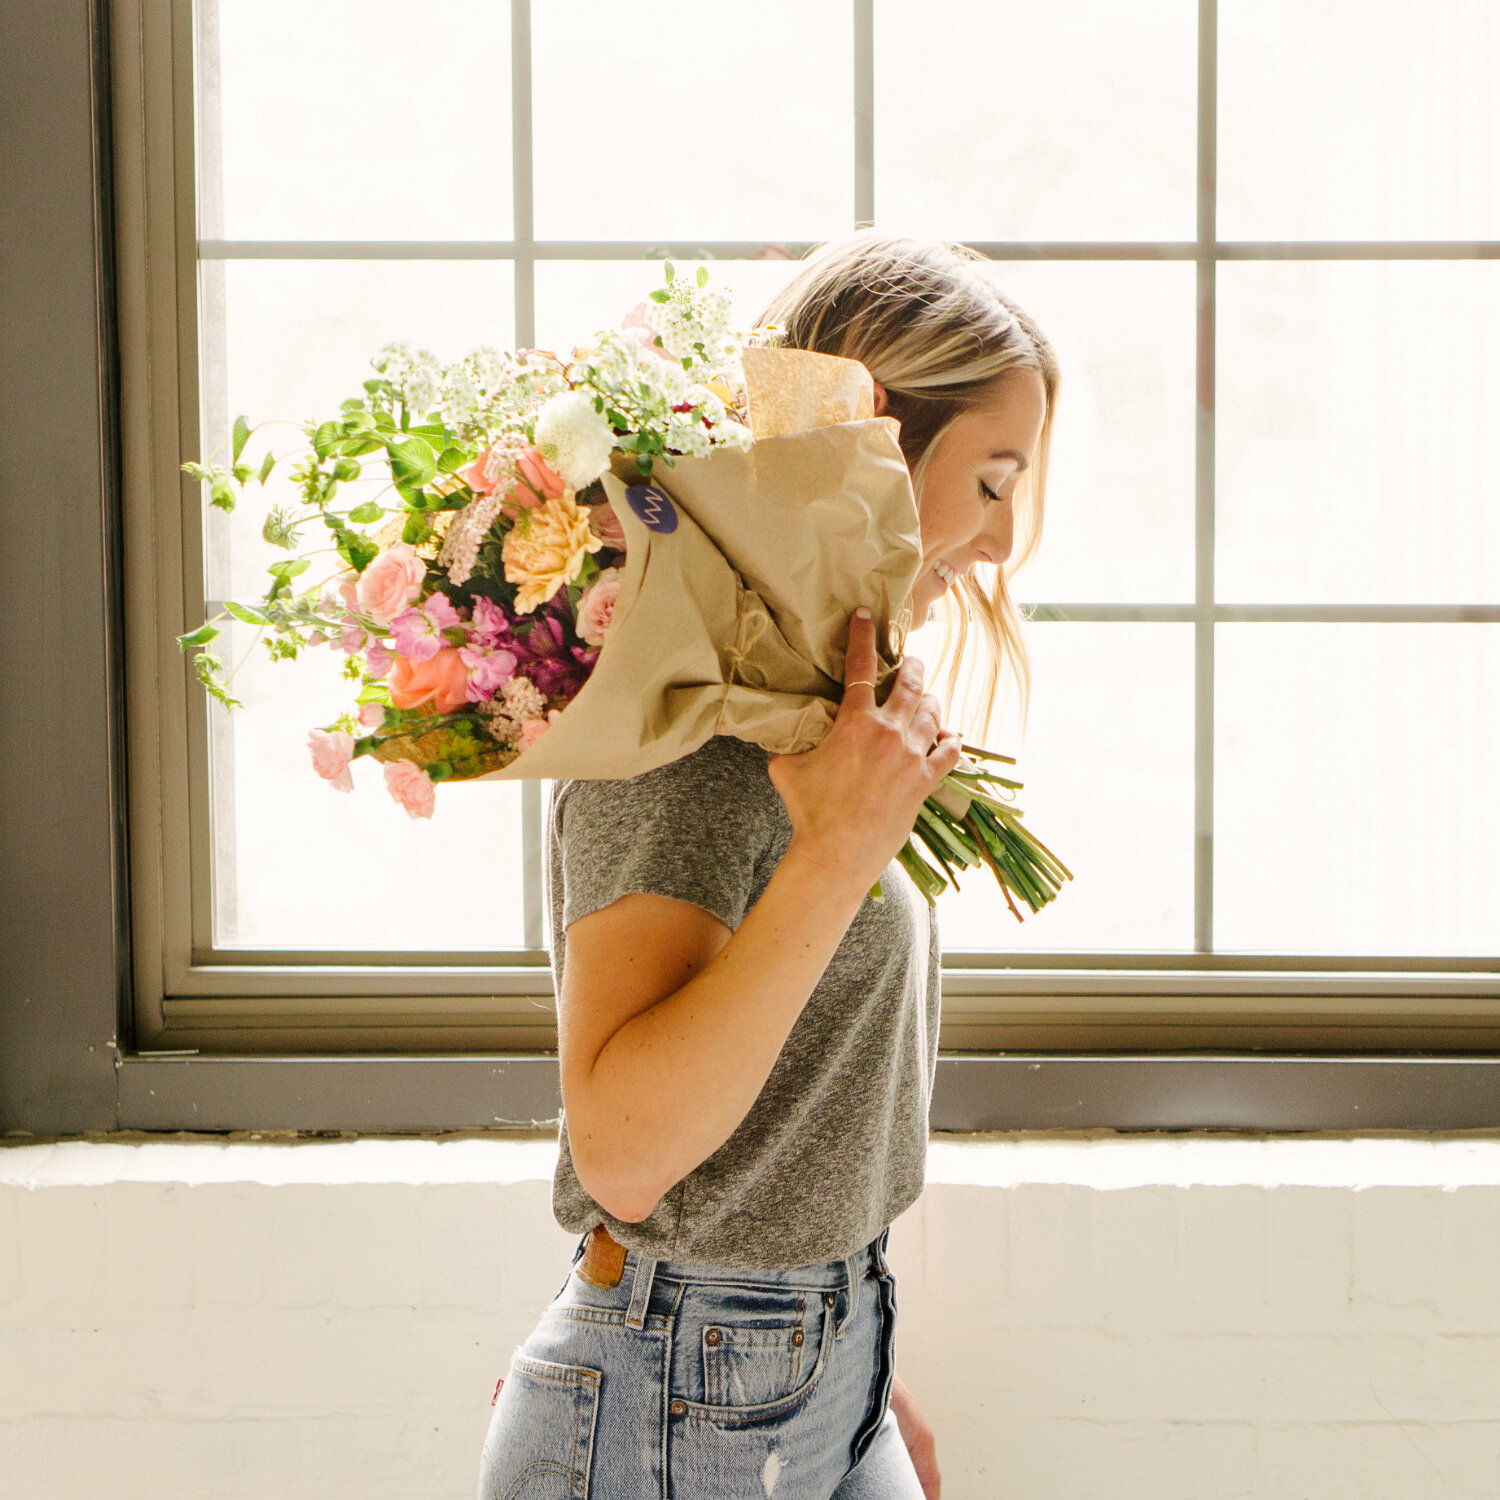
Try to avoid crossing your arms in front of you—instead, give yourself a prop if you need something to do with your hands. Think mugs, wine glasses, pen and paper, a laptop or iPad, a bouquet of flowers, a book, or a greeting card.
COMING SOON!
All the photos of me in this post were taken in anticipation of a new brand I’m launching spring 2020! This has been in the works since fall of 2019, and it’s made my heart and body ache to wait this long to release it, but now I’m starting to drip teaser content over on my Instagram account!
This brand is going to be so much bigger than Alexis The Greek. For commercial photographers, this company will allow small businesses and photographers to collaborate together in a seamless and exciting way to scale and increase their impact. Stay tuned—and if you see any of these headshots anywhere, mark them as the first clue that a new bit of information about this mystery brand has just dropped!

HELLO! MY NAME IS ALEXIS.
Coffee lover, day dreamer, foodie, and creative. I believe in doing what you can with what you have where you are. I blog to help you do more with what you have. I hope you love it here!