Social Media Photography: How to Take Better, More Engaging Photos for Instagram, Pinterest, and More

Learning how to use my DSLR (read: manual) camera was the easy part when I set out to become a better photographer. Styling photos, and getting them to really stand out, was much more challenging.
Why? Because there seemed to be no trainings out there (apart from expensive college programs with $300 textbooks) about how to actually make photos look more than just technically “good.” Everything I learned, I learned by trial and error.
So it wasn’t exactly a surprise when, a few years into full-time photography, I started getting requests to create a styling class to help others overcome this same barrier.
At long last, I am finally releasing a class on styling photos—and I’ll get into what’s covered in it more below, but for now I’m mostly mentioning it because the following 5 tips are just part of the very first lesson inside that course. They are the foundation of everything that comes after; the next-level strategies that will take your mobile or DSLR photos from Okay to Awesome. So if you love these 5 tips, you’re really going to love that class!
Since these days so much photography is done with social media in mind, these tips are specifically geared toward creating images that will stand up against all the other images your audience sees online, so that you get more engagement, more likes, more clicks, more shares. These are tried and tested and true, and if you start applying them today, you should see a difference as soon as tomorrow.
Are you ready?
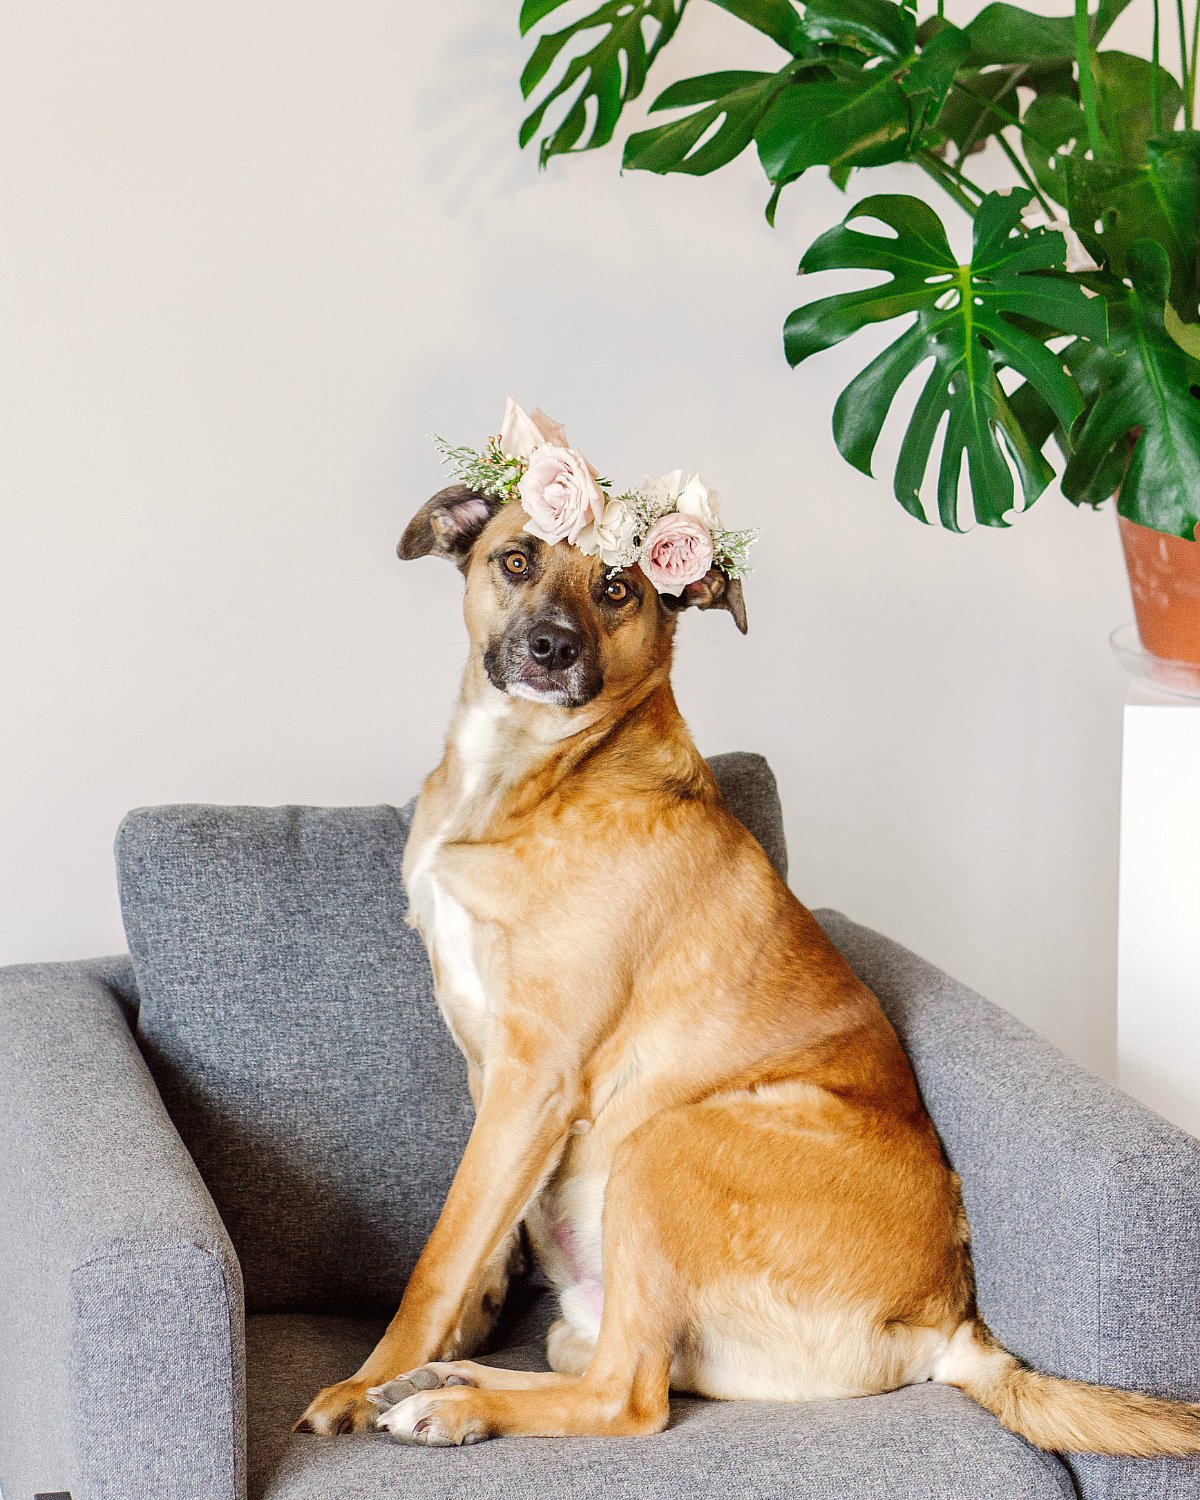
#1 - CHOOSE YOUR SUBJECT

In the image above, can you tell what product the image exists to sell? If you guessed the stack of handmade rings donned by this hand, you are correct! In this photo, the rings are the subject.
When you articulate what you want your viewers to notice first, it becomes easier to compose your image in a way that tells your viewers’ eyes where to go. You can make wiser decisions in the moment that will lead to a a more captivating image later—namely, one that gets engagement. You want people to know exactly where to look and what to think about when they see your images on social media.
#2 - CHOOSE YOUR STORY

The easiest and most obvious way to capture your subject is not always the best or most engaging way—thus it is not enough simply to identify your subject if you want a strong photo. You also want your audience to know what you’re trying to say about your subject.
For example, in the image above, my client Holly, who is a holistic wellness blogger, licensed acupuncturist, certified yoga instructor, and reiki master, could easily just have snapped a few photos on her phone of open-faced avocado halves on a cutting board—as many people on Instagram will do.
But if she wanted the message to be, “Nature’s gifts are not only nutrient-rich, but so delicious you can eat them like dessert,” the obvious avocado-halves shot wouldn’t cut it. So instead, she had me capture her literally enjoying a bare avocado by the spoonful in her kitchen!
#3 - CHOOSE YOUR ANGLE


There’s no one “right” angle to take a photo… but for any given subject, any given story you’re trying to tell, some angles will get the job done better than others.
And the more interesting you can make an image using angles—without stealing from the subject or story—the more likely you’ll be to see engagement on your social platforms.
As a rule of thumb, I always try to shoot any given subject from 3 angles. This is because I sometimes discover something unexpected just in the process of moving around and looking at my subject from different perspectives—but also because the way a photo looks on my camera screen isn’t always the same as it will look at home on my computer screen. It’s good to have choices!
#4 - ELIMINATE DISTRACTIONS

People scroll through their feeds really fast these days, not stopping to engage with content unless it’s easy on the eyes and doesn’t tap unnecessary mental energy—so if there’s anything in your image that keeps pulling the eye away from the subject, that could be mentally taxing enough to tip the scales so that your viewers to stop engaging and keep scrolling.
I’ve often fallen into the temptation to overcomplicate my images… but time after time, the ones that are cleanest and simplest perform the best! The sooner you can get skilled at recognizing anything in your images that “steal” from the subject, and removing those distractions or moving your subject elsewhere, the better off your photos will be!
#5 - CHOOSE YOUR SUPPORTING CHARACTERS

Once you master eliminating distractions, you’ll start to recognize opportunities to add in props and “secondary characters” that support and strengthen your story. After all, most leading characters in books, plays, and movies don’t carry the whole show alone! So will be the case in your best social media photos.
For example, in the above image, I could have simply shot the “Pumpkin Spice Everything” mug on a tabletop or white backdrop… but what’s the point of a “Pumpkin Spice Everything” mug if it isn’t more special than any ol’ regular mug?
So I made sure the mug was the clear subject—the place your eyes have to go to first—but I also supported the idea that this mug is for someone who loooooves pumpkin spice season by adding a pumpkin-colored tablecloth to the table, a pumpkin centerpiece in the background, a plate of pumpkin cake, and even pumpkin spice on top of the whipped cream in what the viewer probably understands is a pumpkin-spiced beverage! And when I asked myself, “Are any of these props distracting?” the answer was a clear and easy, “Nope—not at all!”
Love these tips? Then Learn More
About ATG’s Upcoming Photo Styling Class!

We’re all trying to learn everything we can about the online resources that could help our businesses grow—Instagram, blogging, Pinterest, YouTube, Facebook, Facebook ads, email marketing, Interact quizzes, and more.
But what’s the one thing ALL of these methods have in common? To work, they require POWERFUL VISUALS.
On any given surface, screen, or scroll, a viewer’s eyes are going to try to find a safe place to land. The sooner you can master the skill of styling images that give people an obvious place to rest their eyes (a place that’s super appealing and lights up the pleasure centers in the brain), the sooner you are going to see your engagement, web traffic, and opt-ins spike!
I’m going to get really honest with you inside the Photo Styling Basics class about the mistakes I’ve made as a photographer—and even some of the images I shot in the past that are floating around out there on the internet right now which I cringe to look at because I know now what I could have done better—because if what I know can help you fast-track your success, then a little “ego death” will be worth it.
Here are just a few of the topics we’ll cover together!

What Is Lifestyle Photography? — Many product and personality-based brands try to boost their impact with “lifestyle photography,” and never even realize that what they’re capturing isn’t lifestyle photography. In this lesson, we’ll cover what lifestyle photography is and how to use it to grow your brand!
How to Recognize Textures & Patterns that Photograph Well — How many times have you chosen a backdrop or location for your photos—even an outfit you thought was super cute—only to get the photos back and discover the effect was drab, flat, lifeless? In this lesson, we’ll cover how to find textures and patterns that appeal to your ideal client and add dimension and vibrance to your photographs!
Pins & Tucks: How to Style People and Props in the Moment — Details matter! The first time I paid a pro (for two days of photography, mind you) to capture my brand, I was surprised how many little details were missed in the moment: a rumpled shirt here, a flyaway lock of hair there… And because the photographer wasn’t a Photoshop user (many aren’t these days), a lot of these oversights weren’t things she could fix. In this lesson, I’ll not only show you what details to look for when taking photos on your own, but how to elevate them with real pro tips and tricks that transform your shots from “blah” to “bam!”
Flat Lays 3 Ways — If you’re shooting photos from your phone to keep your Instagram grid full, it’s likely that up to 1/3 of the time, you’ll be shooting something called flat lays. But unless you’re used to styling flat lays, it can be hard to get the “balance” right, let alone decide what objects to use to create a story people will stop scrolling to pay attention to. In this lesson, we’ll cover 3 methods (spoiler alert: actually more than 3!) to style and capture truly dynamic flat lays.
5 Fantastic Food Photography Fixes — Whether you’re shooting from a phone or a professional camera can make a difference to how your food photos come out, perhaps more than any other subject you might capture. In this lesson, I cover 5 ways to take your food photography to the next level, so that those photos really invite your audience into the full food experience!
Like I said, this is just a quick snapshot of what you’ll learn inside! There will be lessons on lighting, composition tricks that double as styling, where to source affordable props, how to choose props and locations for your target audience, and more!
I know first-hand how frustrating it can be to try to grow a business from the ground up, especially an online business, without a whole lot of help in the photo department. (Why do you think I became a photographer?!)
Not everyone can afford pro-level photos often enough to be able to post on Instagram every day, which is why I created my social subscription program, and it’s why I’m expanding now into teaching others how to style photos from home in between their pro-level shoots.
This class is right for you if…
You want to be posting on Instagram (or your blog or other social channels) every day, but either can’t currently, due to a lack of quality photos, or you rely on quote graphics and other “filler” content to get you by between actual photos
You’re sick of spending money on photographers who deliver photos you can’t or don’t want to use—so you want more control over the content you put out into the world
When you “style” photos on your own right now, they never come out the way you thought they would in your head; you want to learn how to get your big ideas from concept to reality
You want to know how to create awesome images from your mobile device, so that there isn’t such a gaping discrepancy between your pro photos and your real-time ones
You want to be able to creatively direct your shoots when you hire a photographer—after all, not all photographers are stylists, and if you know how to plan ahead and what details to look for in the moment, you can get more bang for your buck!
If that sounds like you, don’t miss the news when the doors officially open! Pop your email in the box below, and not only will you get my free e-magazine, 27 Photos Every Influencer Has in Her Photo Bank—you’ll also be first to know when registration opens for Photo Styling Basics!

HELLO! MY NAME IS ALEXIS.
Coffee lover, day dreamer, foodie, and creative. I believe in doing what you can with what you have where you are. I blog to help you do more with what you have. I hope you love it here!