
Can I really just "Photoshop it out"?

The word “Photoshop” today is almost always used as a verb:
“Don’t worry—I’ll just Photoshop that out later.”
“Can you Photoshop my arms to look smaller?”
“If you’re able to Photoshop this blemish off my chin, that would be great.”
Basically, “Photoshop” has become a mainstream way of saying “edit.”
But Photoshop is actually a very powerful software by the company called Adobe. It’s used for transformative edits that the average human doesn’t know how to do—even many trained photographers. It was the first commercial software that allowed photographers to make professional, commercial-marketing-level changes from their home computers to digital images. Although to this day it remains a software that requires a fair amount of intensive YouTube research to use proficiently, it was the software the laid the groundwork for programs like Canva’s background removal tool, SnapSeed’s healing tool, FaceTune’s lip plumping tool, and more.
While many paid photographers have this software installed on their home computers (I do), most of us use it sparingly… and when we use it, we tend to default to the same three-to-five tools in the toolbar, to make minor adjustments that couldn’t be made in Adobe Lightroom. We don’t use it to completely alter history.
This is because while TikTok and Instagram Reels make it seem like Photoshop is for one-click edits, the reality is something wildly different.
So when someone says, “You can just Photoshop that out, right?” sometimes the answer is, “Um… Well, probably not, actually.”
Today, I’m going to talk you through one of the rare cases when I agreed to do larger Photoshop edits to images so you can see what even a moderate-level education in this software requires. As my other half, Matt, said about this shoot, “Wow, these are some pain-in-the-*** edits I would never want to do.”
Fortunately, I knew going in what would be required, and I was able to make an informed decision as to whether I was up for it within the project budget. I agreed to these edits because they were within my skill set and I could do them without breaking the time constraints for turnaround. But that’s not always the case. I hope by the end of today’s post, you’ll see why!
First: Raw Images in Lightroom
The first step for any photo project at AG is to upload the RAW images into a program called Lightroom.

Lightroom is another software by Adobe that allows for fairly fast* edits that “prepare” an image for Photoshop, if Photoshop is needed at all:
If the photo is dark, you can brighten it in Lightroom.
If one side of a photo is too “blown out,” you can dim down just that one side in Lightroom.
If the lines aren’t quite straight, you can straighten them in Lightroom.
If the colors are off, you can correct them in Lightroom.
If the proportions of your subject are warped because of the lens you used, you can fix this in Lightroom.
If you want to whiten someone’s teeth, brighten their eyes, or blur out the background behind them, all this can be done in Lightroom.
It’s only after you’ve taken a photo as far as it can go in Lightroom that you’d want to take that new, edited version of the photo over to Photoshop.
Here are some examples of photos before and after I edited them in Lightroom:


These are just preliminary edits, before the images are ever technically “Photoshopped.”
(*When I say Lightroom edits can be “fairly fast,” it’s important to understand it’s not uncommon to spend anywhere from 10 to 25 minutes working on a single image. The reason that this is “fast” is that generally, when you make edits in Lightroom, you make them to all or a significant portion of the image at once, unlike in Photoshop, where you’re often tweaking pixel by pixel.)
Next Stop: Photoshop
Because I’m a brand photographer, and a lot of what I shoot is small business owners and their offers, I generally only move photos over to Photoshop when:
I want to color-match a background to match a brand’s style sheet
I need to correct a minor flaw that I couldn’t correct in Lightroom, such as disappearing a stray hair that cuts across someone’s eye
I need to multiply part of the background seamlessly; for instance, if I want to extend the ocean’s edge and cover up strangers in the background on a public beach
I want to remove graininess
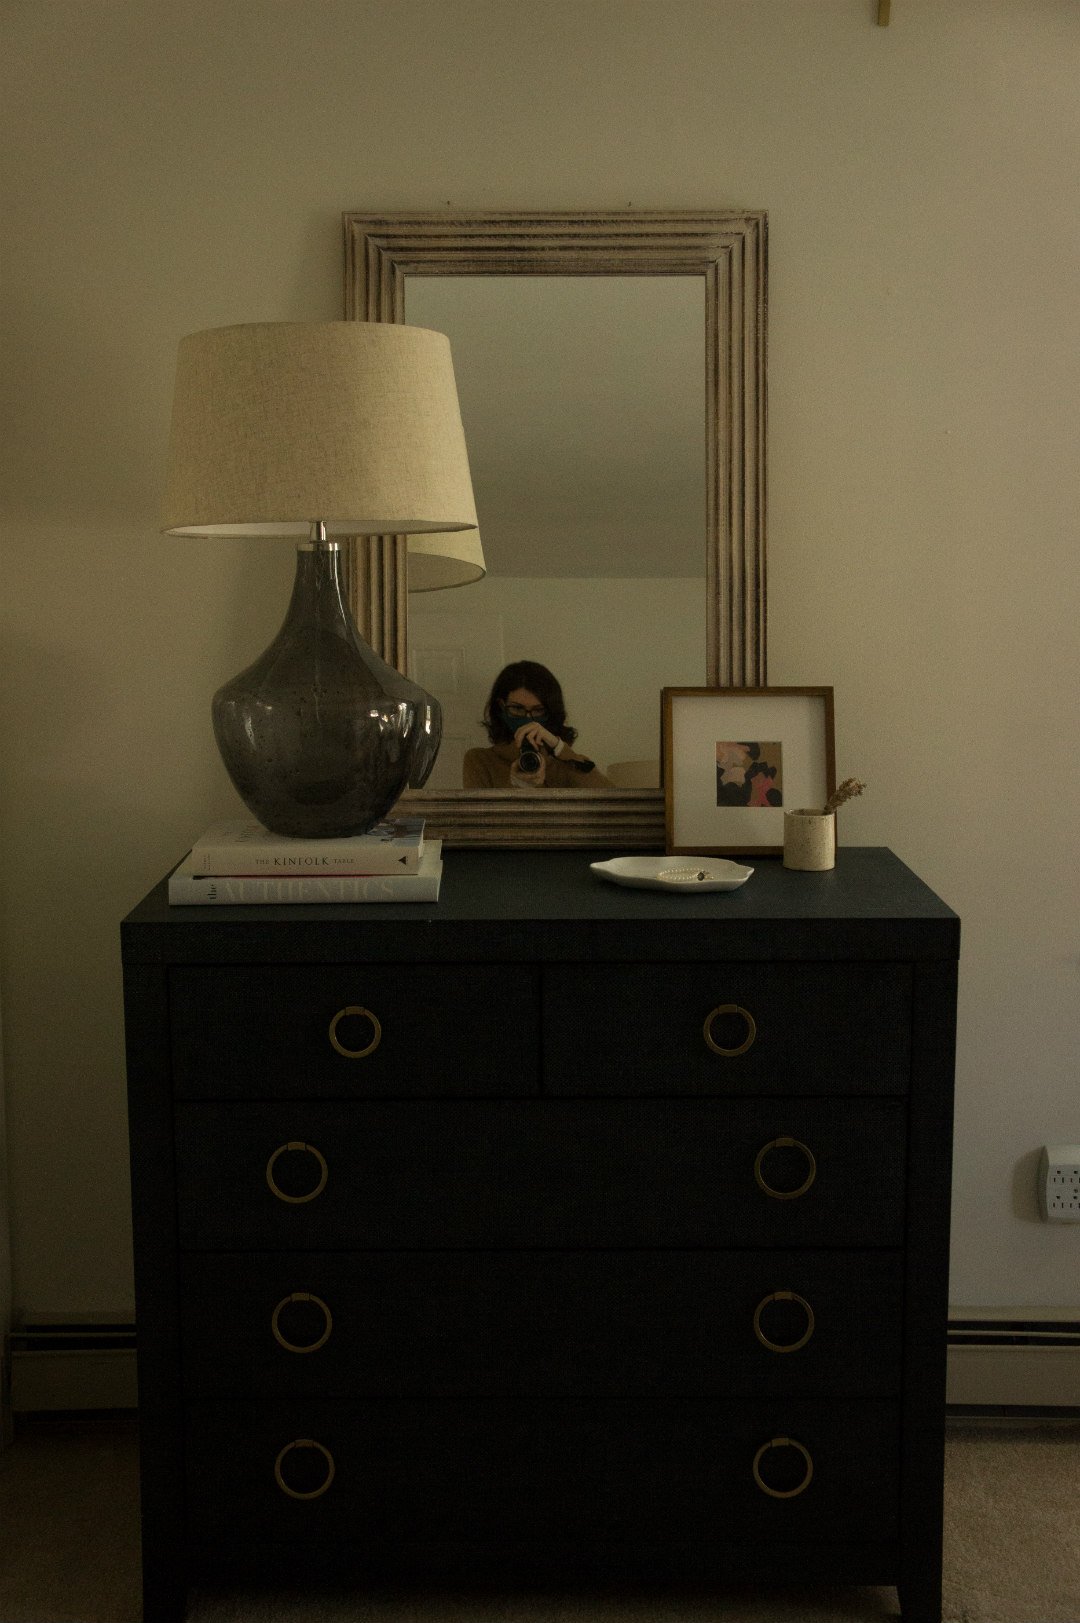
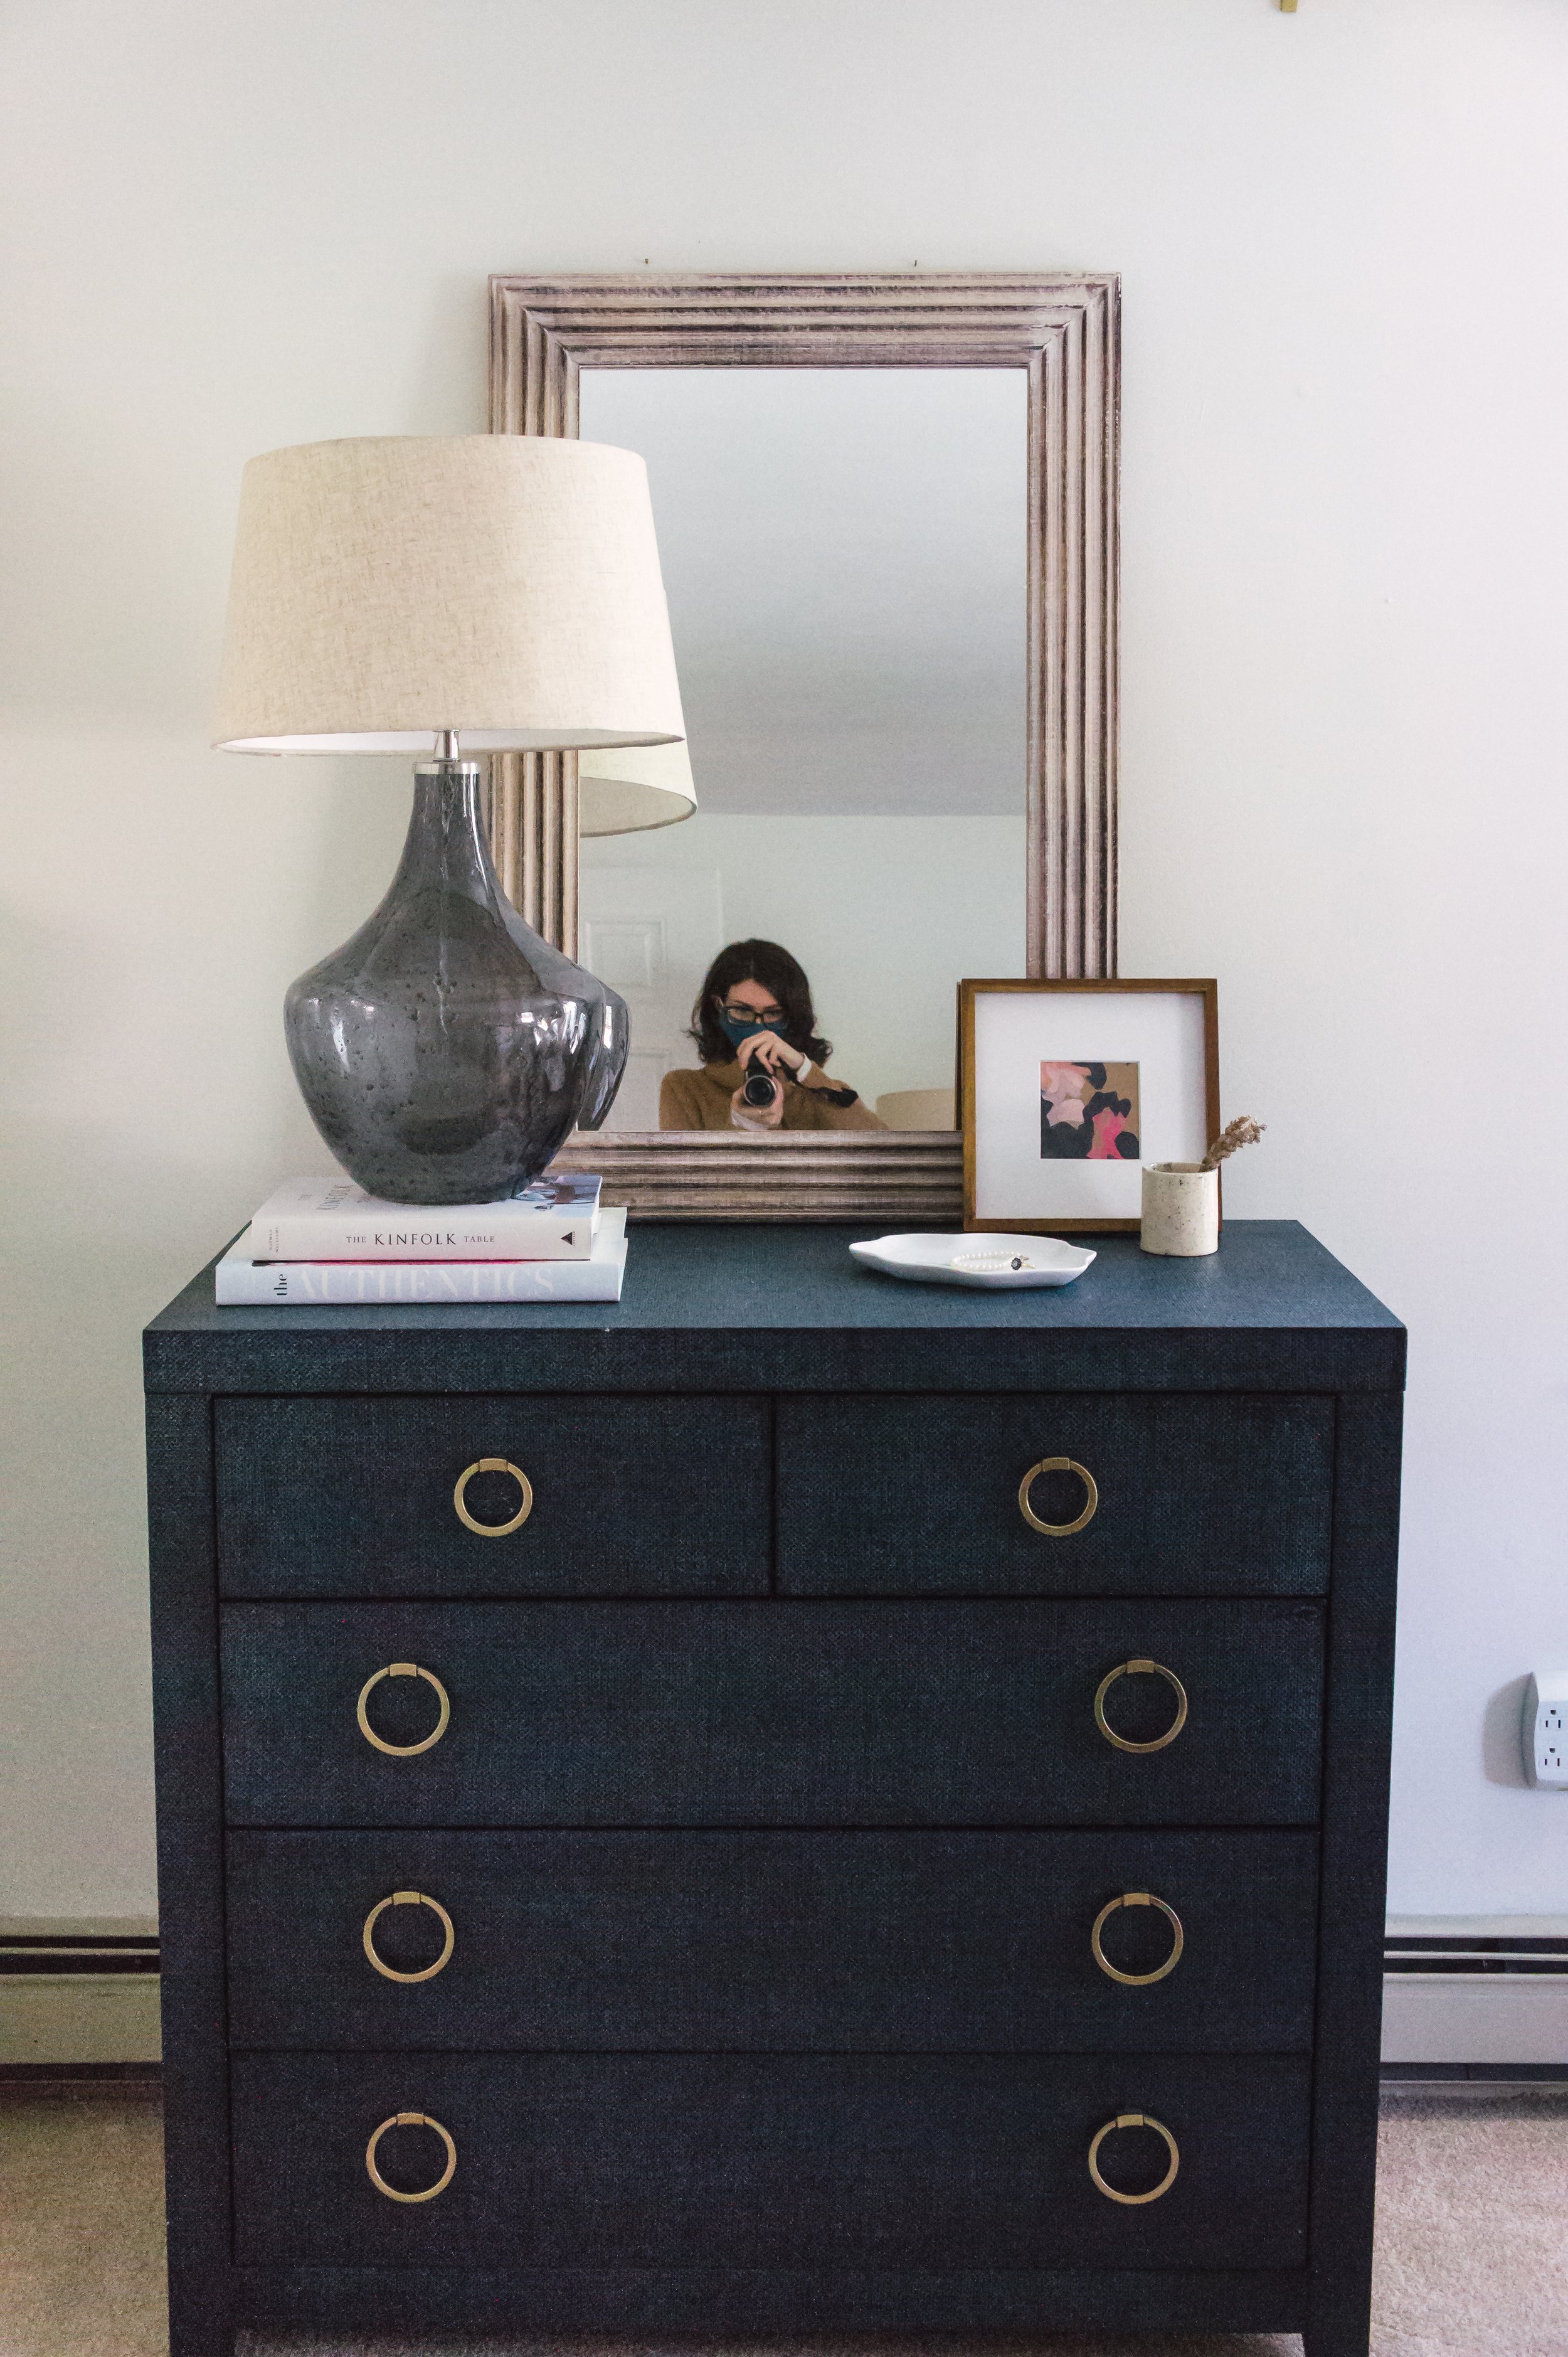
I need to remove something small from the frame, something that couldn’t be removed on-site, such as graffiti on a brick wall, a doorstopper in someone’s home office baseboard, or the reflection in a mirror
Here are some examples of these types of edits in action:

While this may seem impressive to some, these particular edits are actually often very quick and simple to make, adding only 2-10 minutes to a photo’s overall editing time, and they’re frequently not needed at all. This is why it’s easy for me to include them in the cost and time allotted for a session.
My default tools are things like the spot-healing tool, the clone stamp, lasso tool, the color overlay effect, and noise reduction filters—probably less than 1% of Photoshop’s overall editing capacity.
Edits I Will and Won’t Make in Photoshop
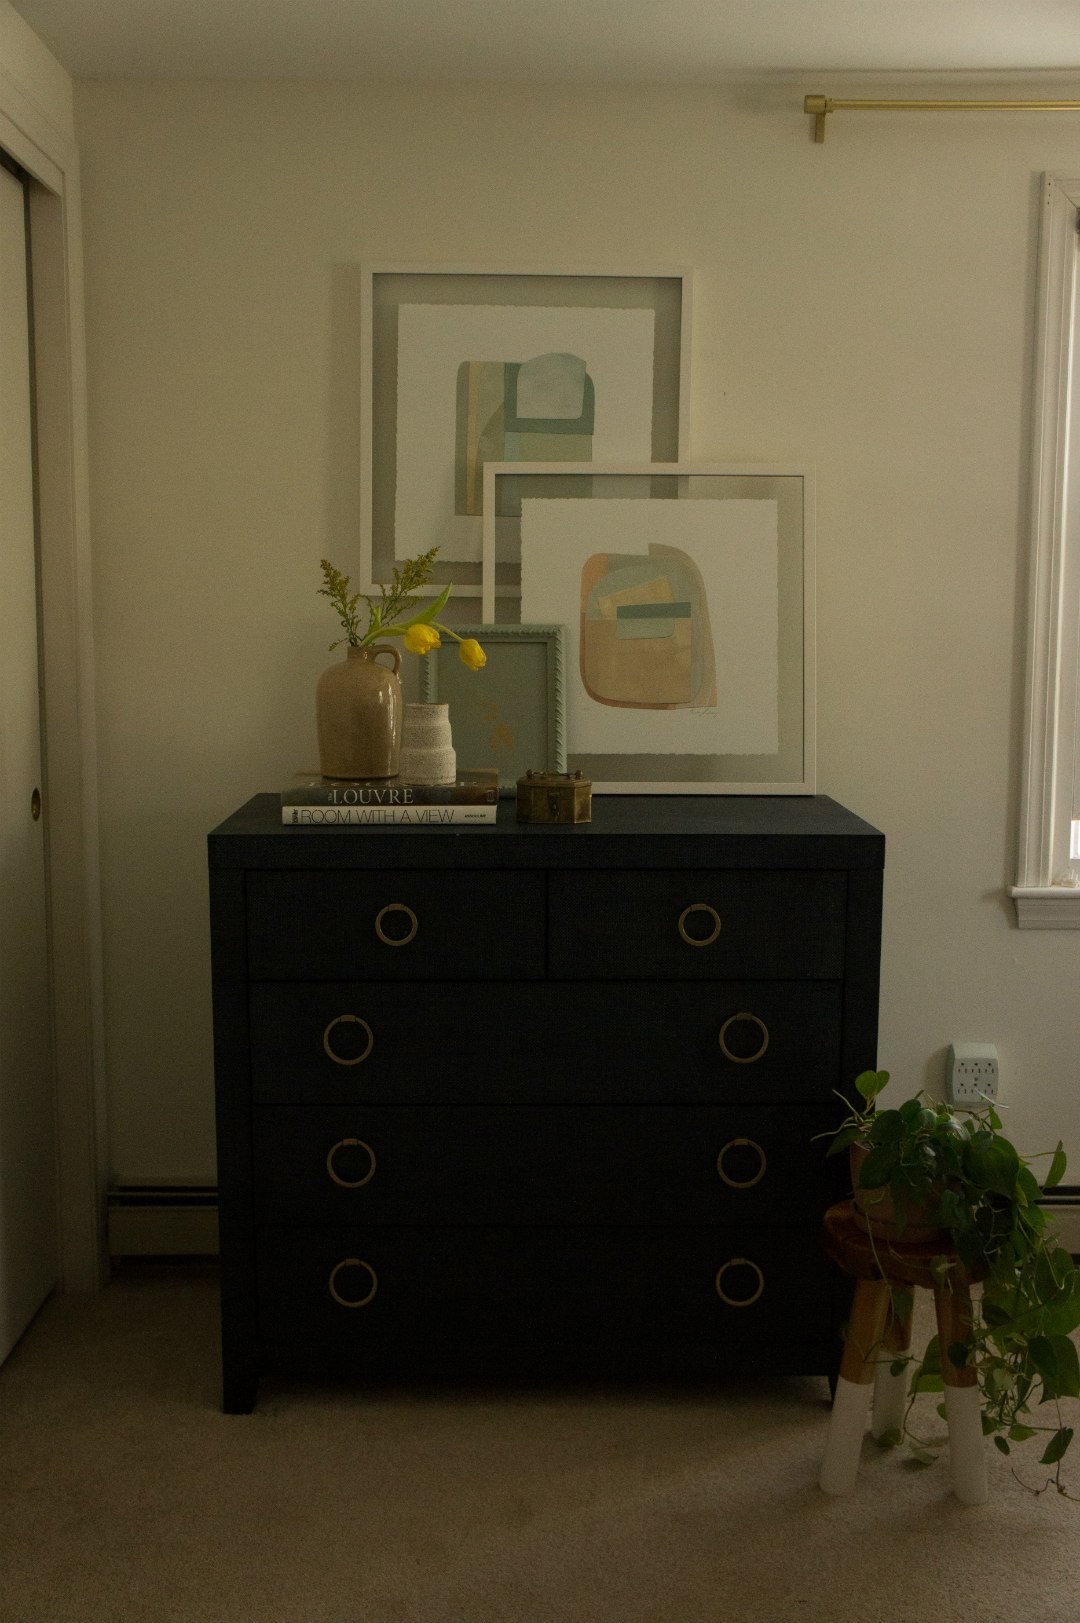
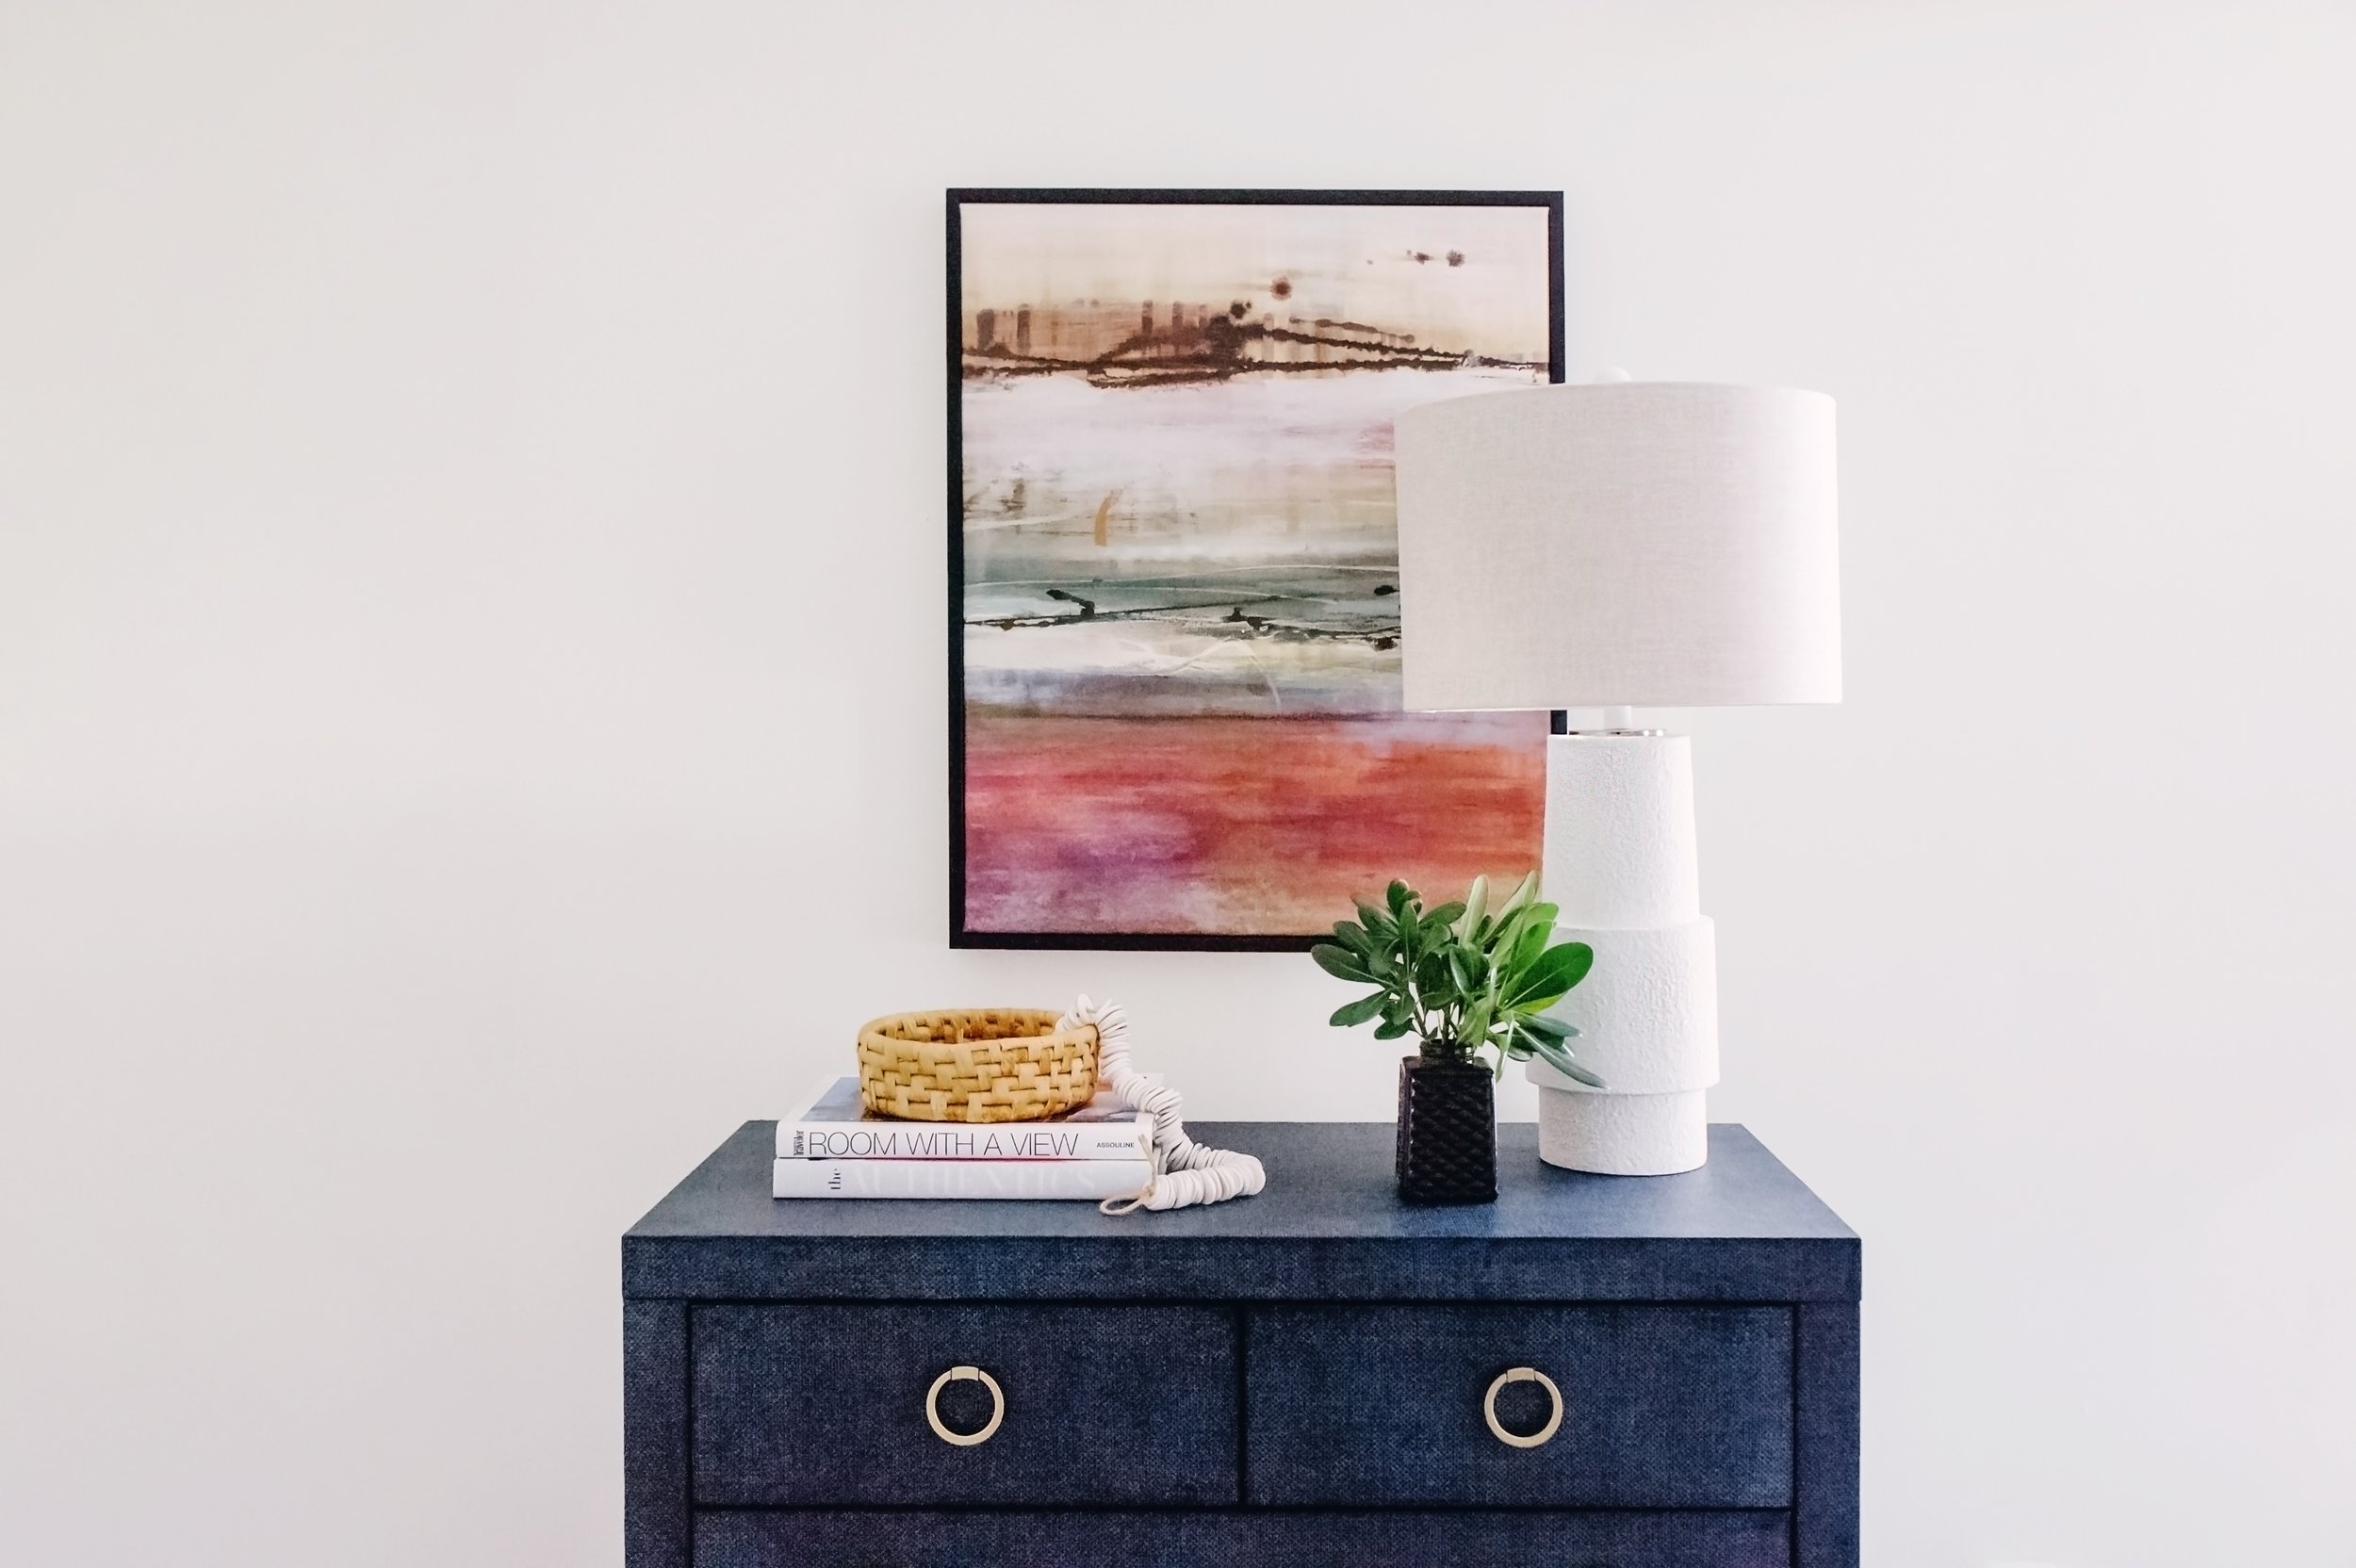
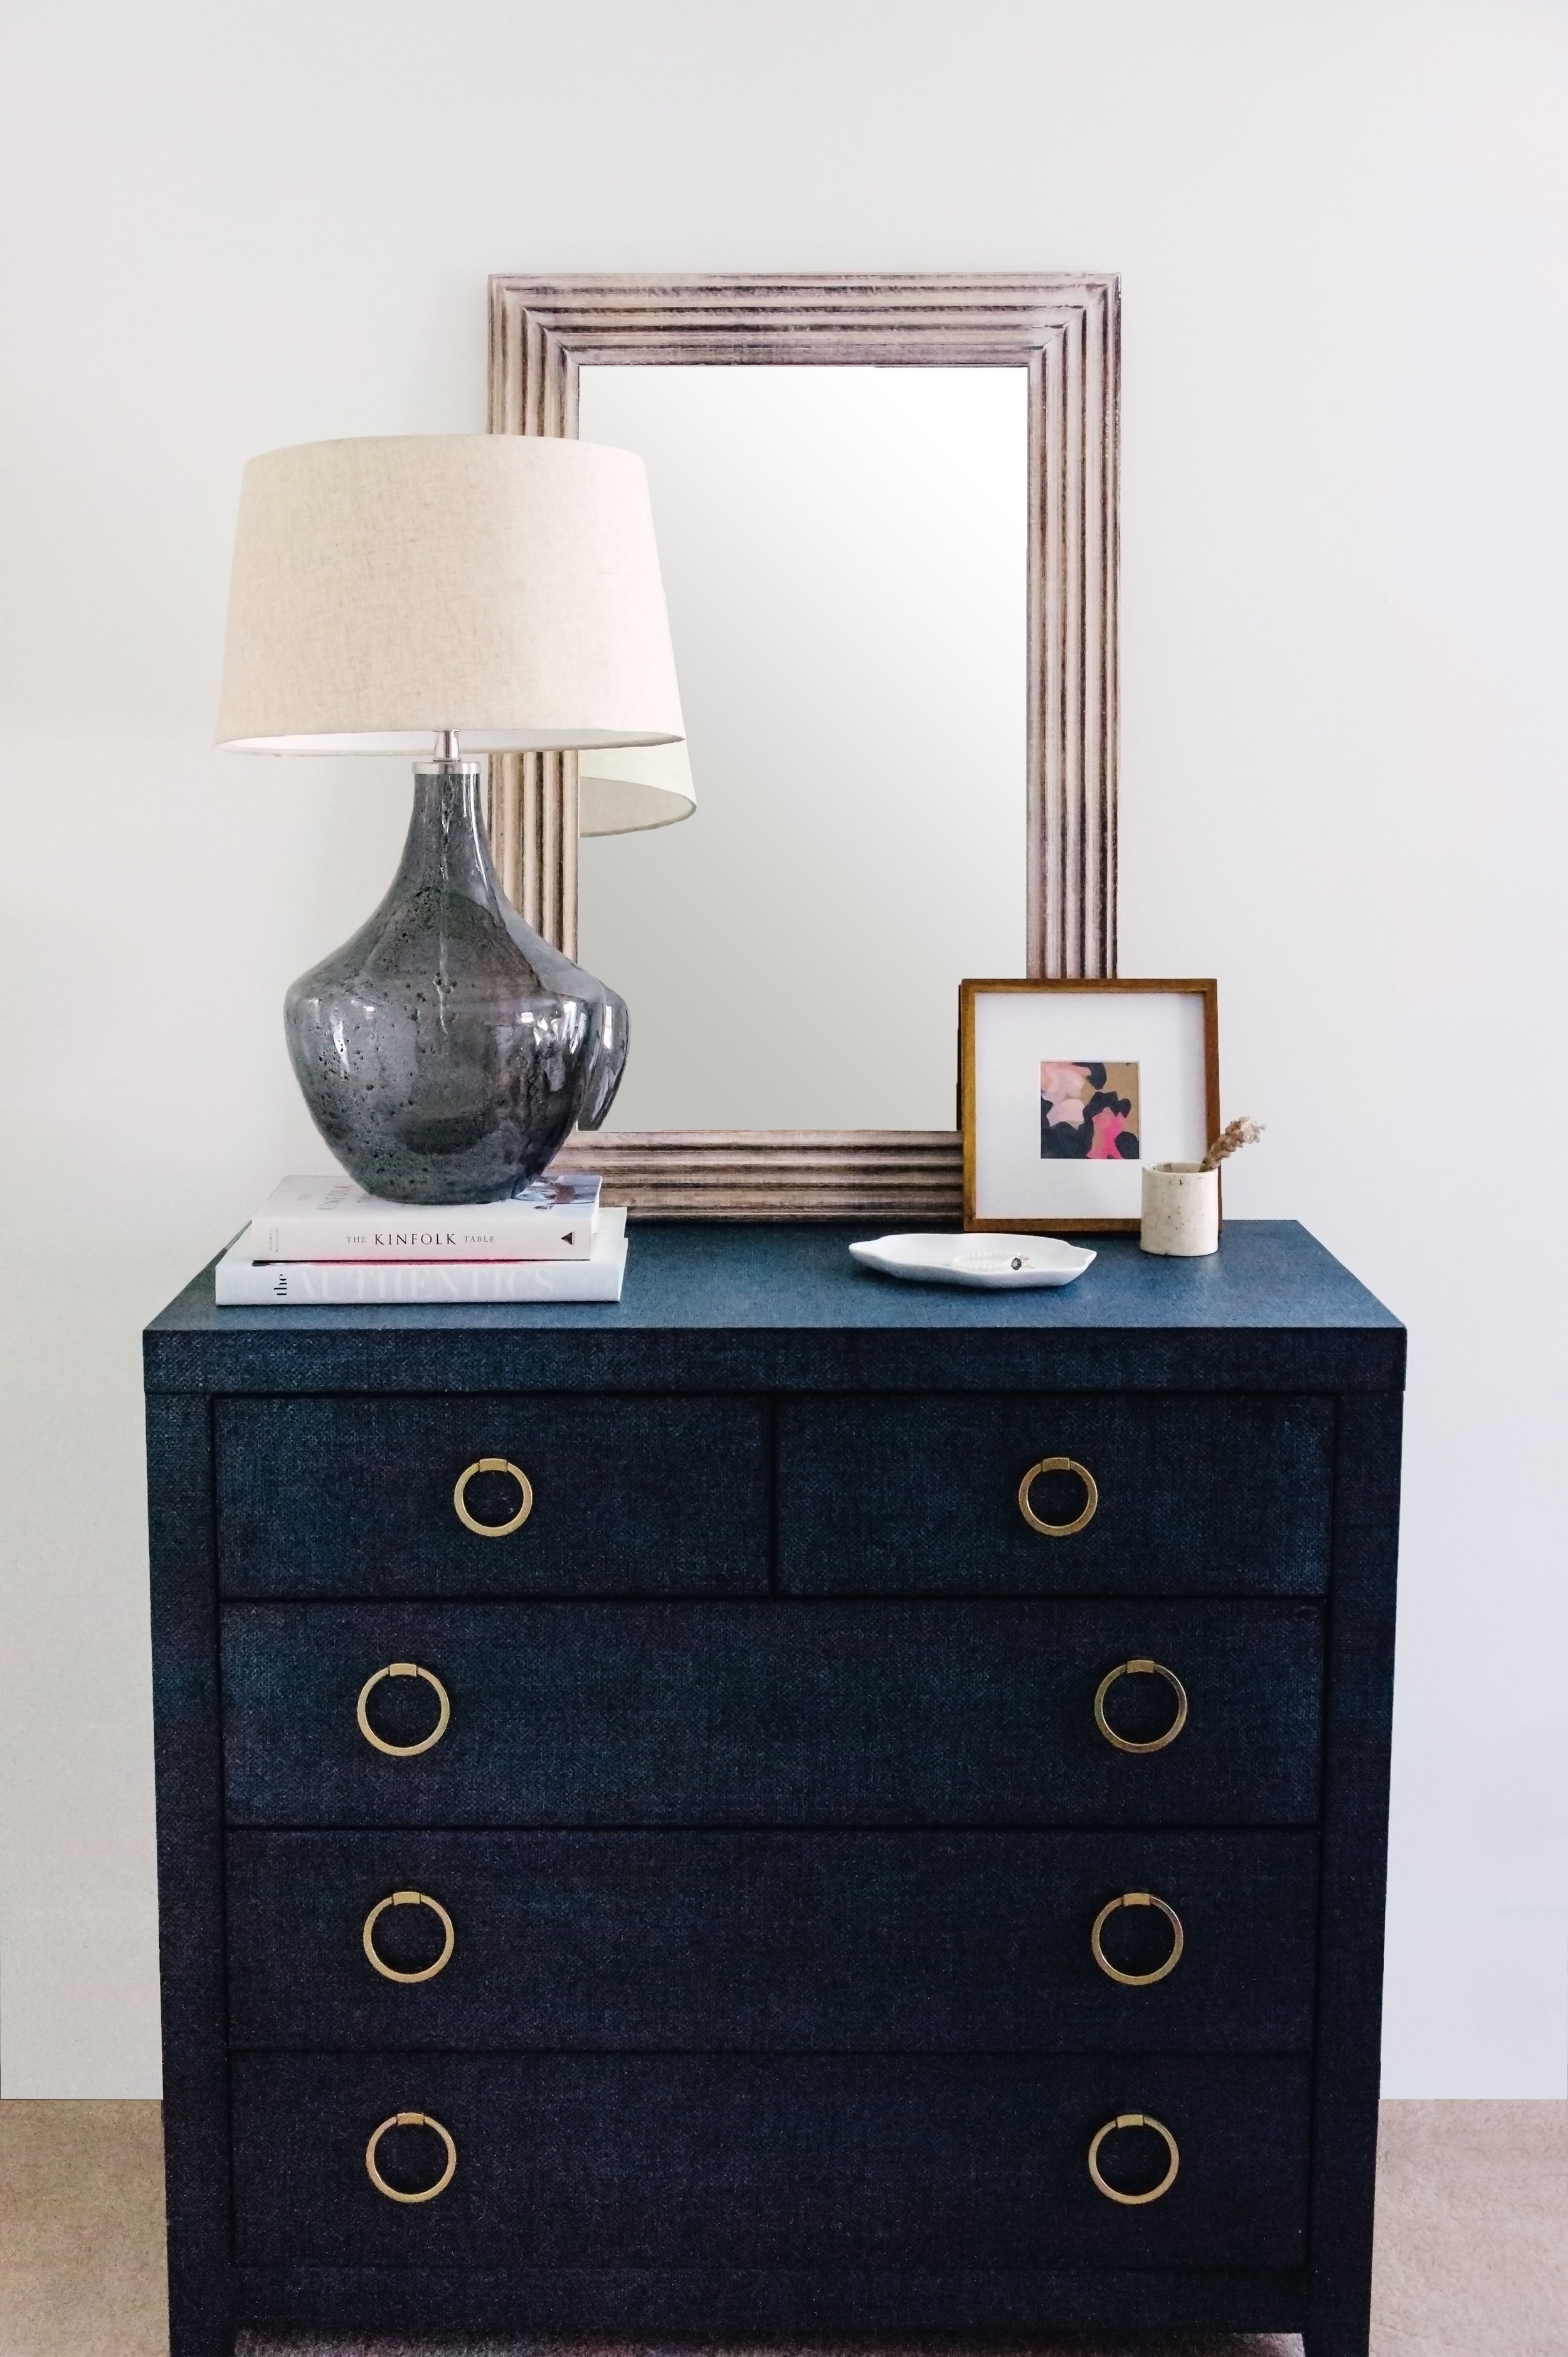
In the case of the shoot we’re looking at in today’s post, which was for an influencer collaboration with Bassett, I had been asked if I could remove an undesired window, a closet door, a baseboard heater, a curtain rod, outlets, and nails in the wall.
This was on top of shooting in very uneven light, on the far side of a room from the windows, where certain obstacles (like a queen-sized bed) couldn’t be moved out of the way.

I’ll be quite honest, this was a difficult shoot. The lack of light and the harshness of the shadows made it hard to brighten the images evenly, which resulted in an undesirable graininess that was difficult to soften. That was the hardest part. If I’d had control over where we’d performed this shoot, it would have been in a blank studio like The Valentine Room.
The reason I was willing to do this work for this particular project was that we were shooting very clean lines, which are generally easier to work with. If there had been patterned wallpaper, or a lot of curved or diagonal lines in the frame, this would have been a much longer editing process. As it was, each image took about an hour to edit, start to finish.
I was also willing to make these edits because I was working with objects, not people, and the goal was to highlight specific products. The elements I was removing from these images would have been distracting from the products these images were intended to sell, so it was appropriate to use Photoshop for this particular project. If I had been shooting portraits and the subject asked me to make her “look 30 pounds skinnier,” I would not have been willing to do that. Not only would it be extremely difficult and likely not believable, but it also would have been a misrepresentation of the person I was capturing.
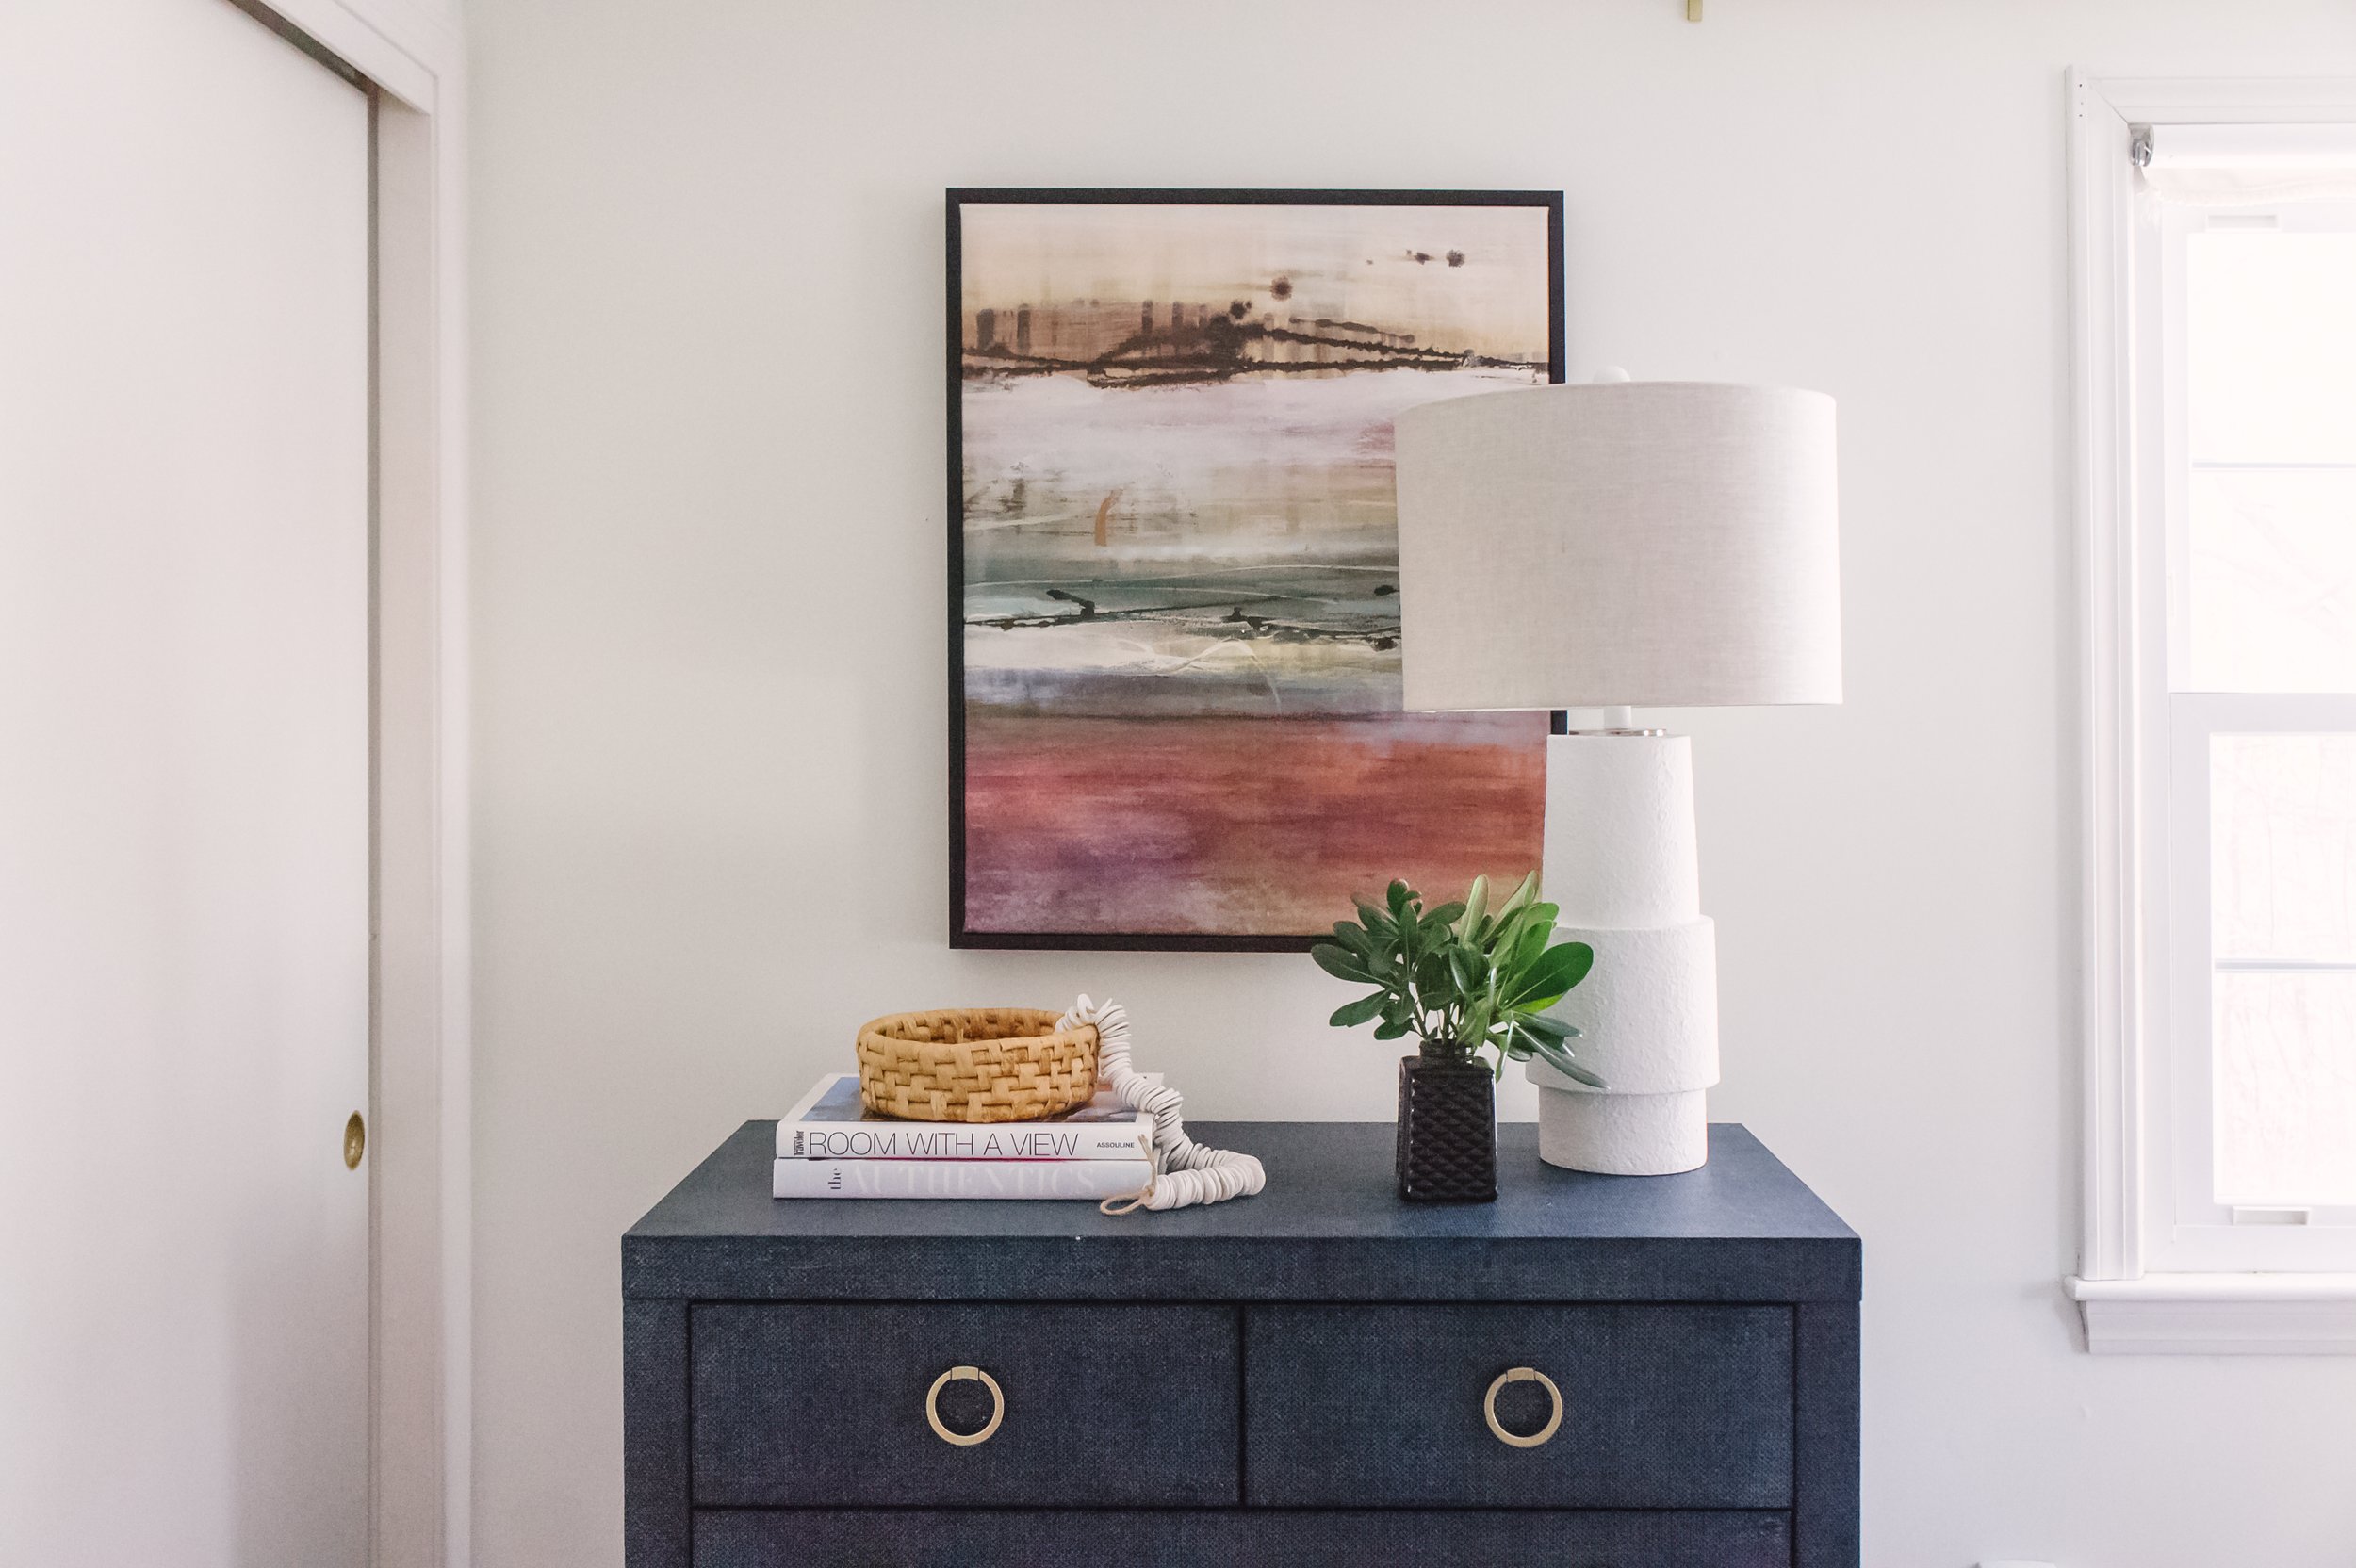
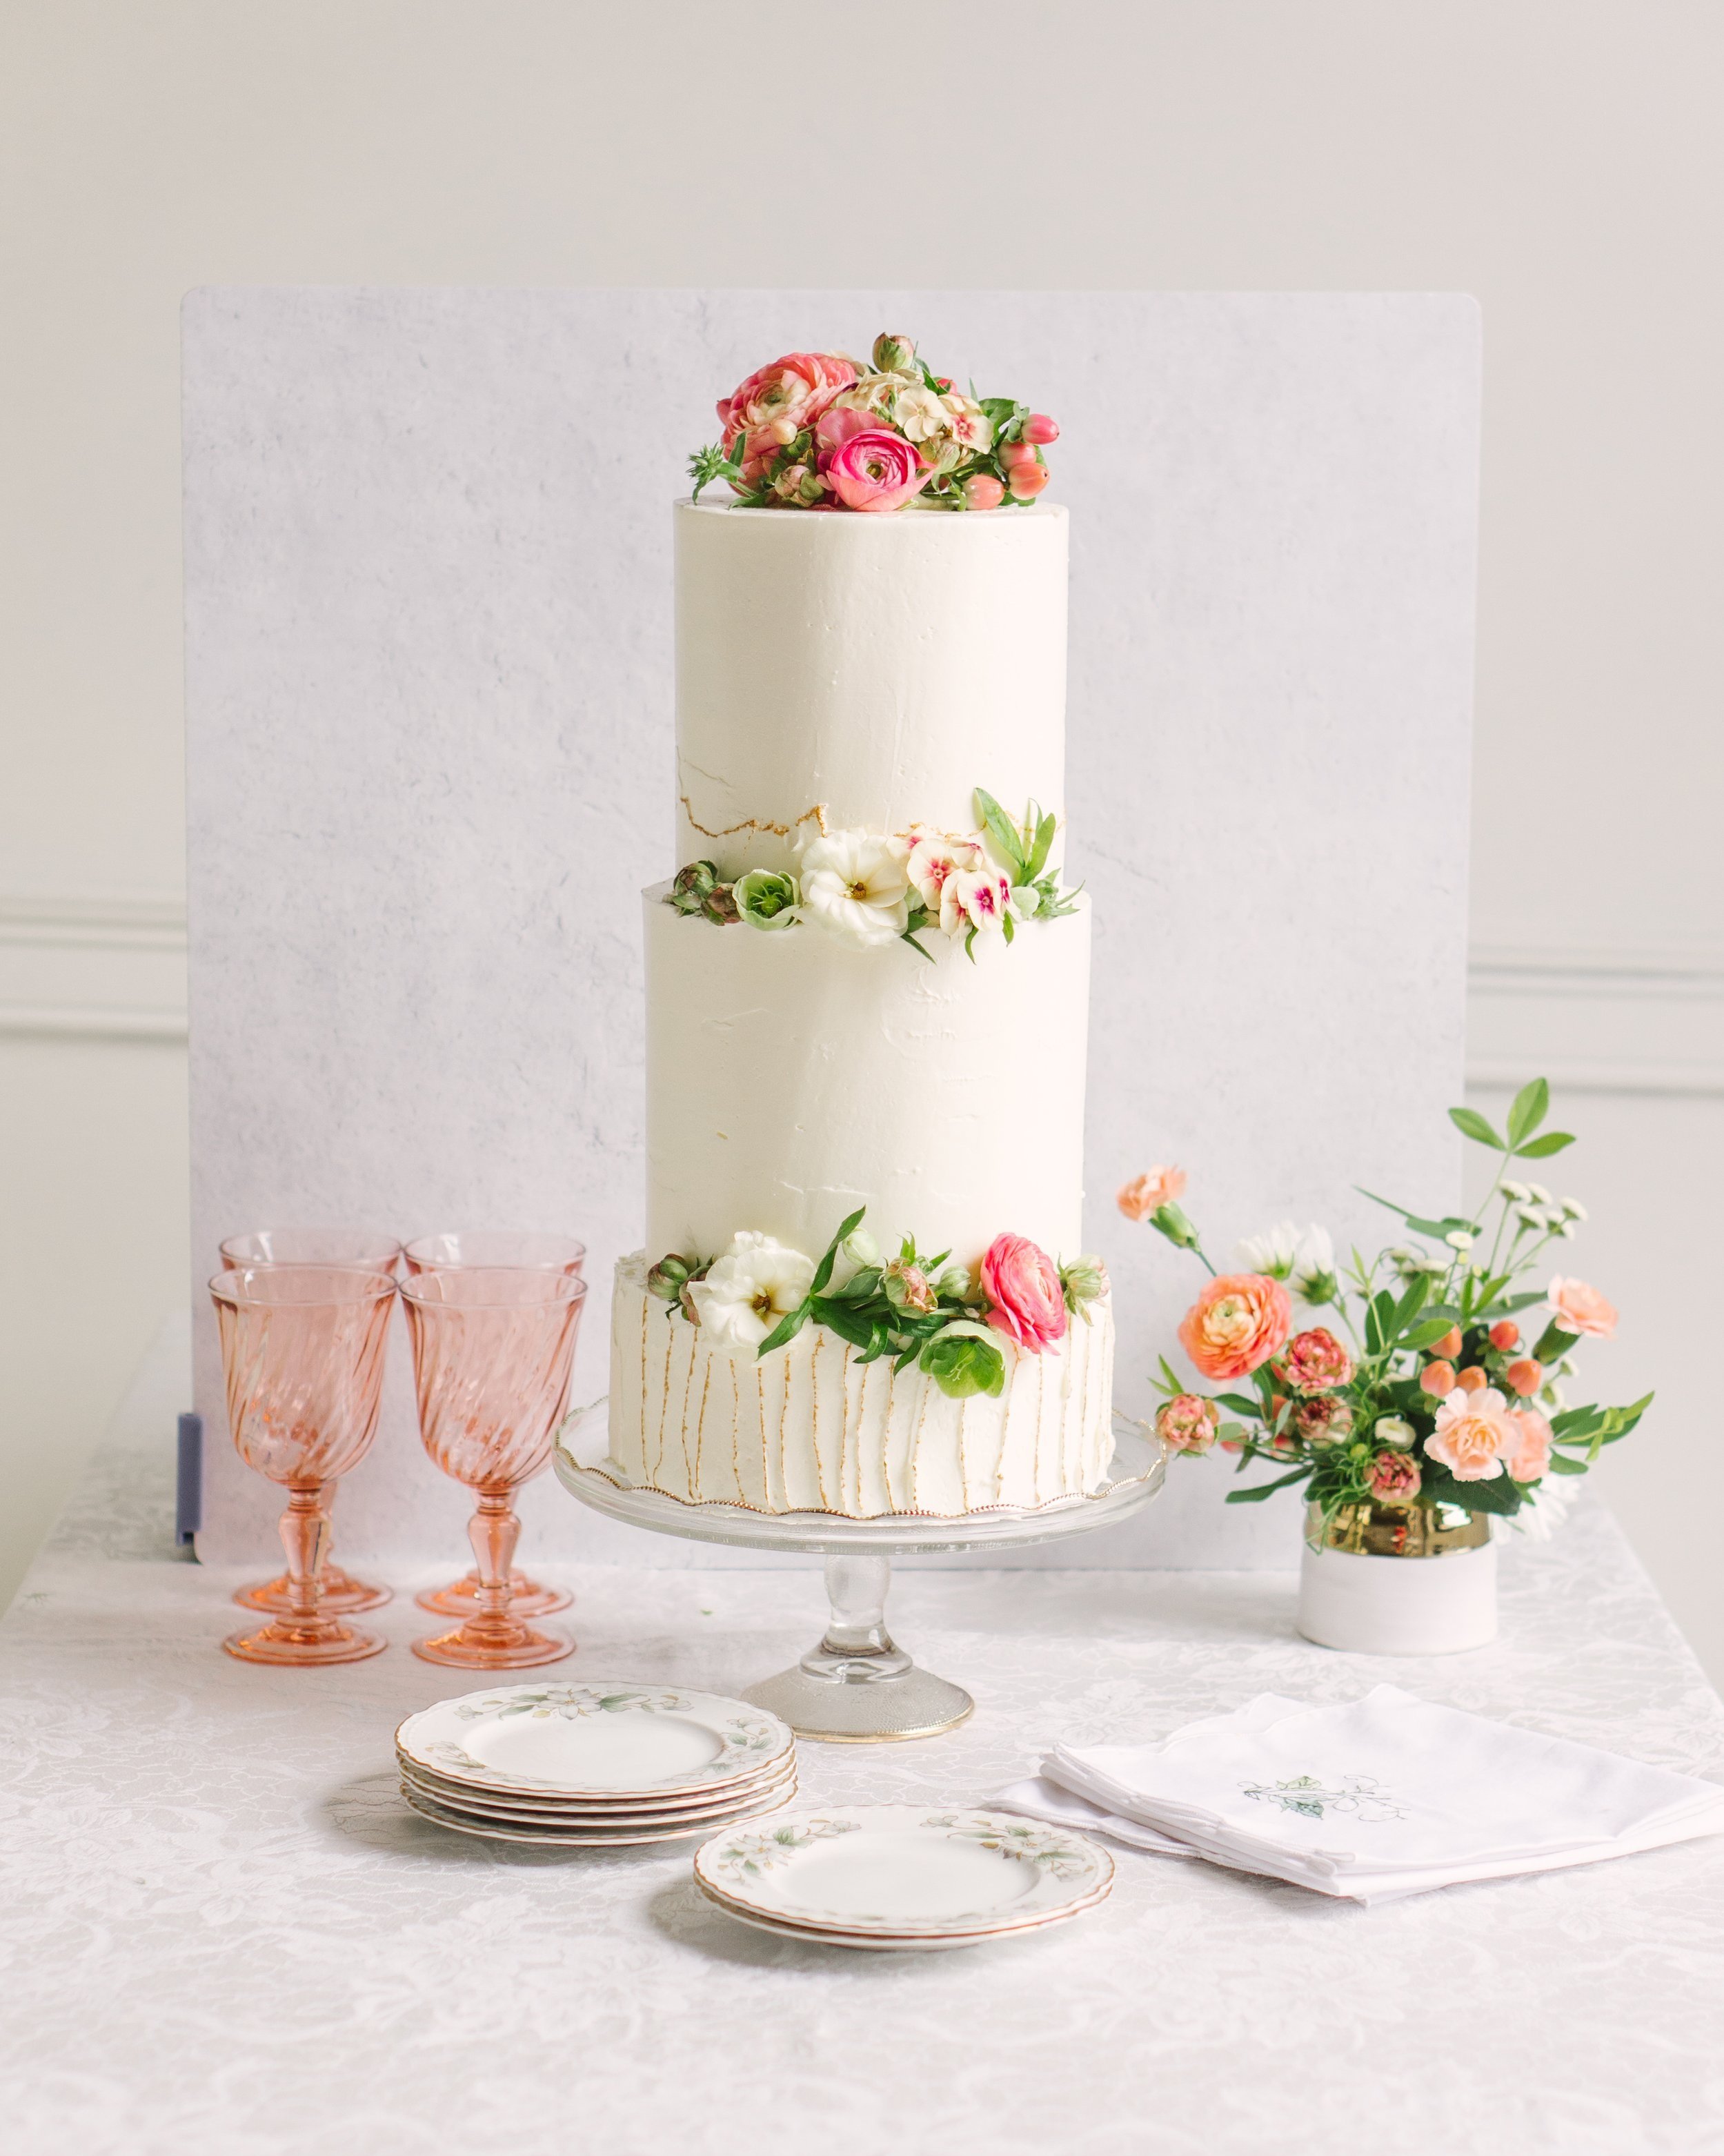
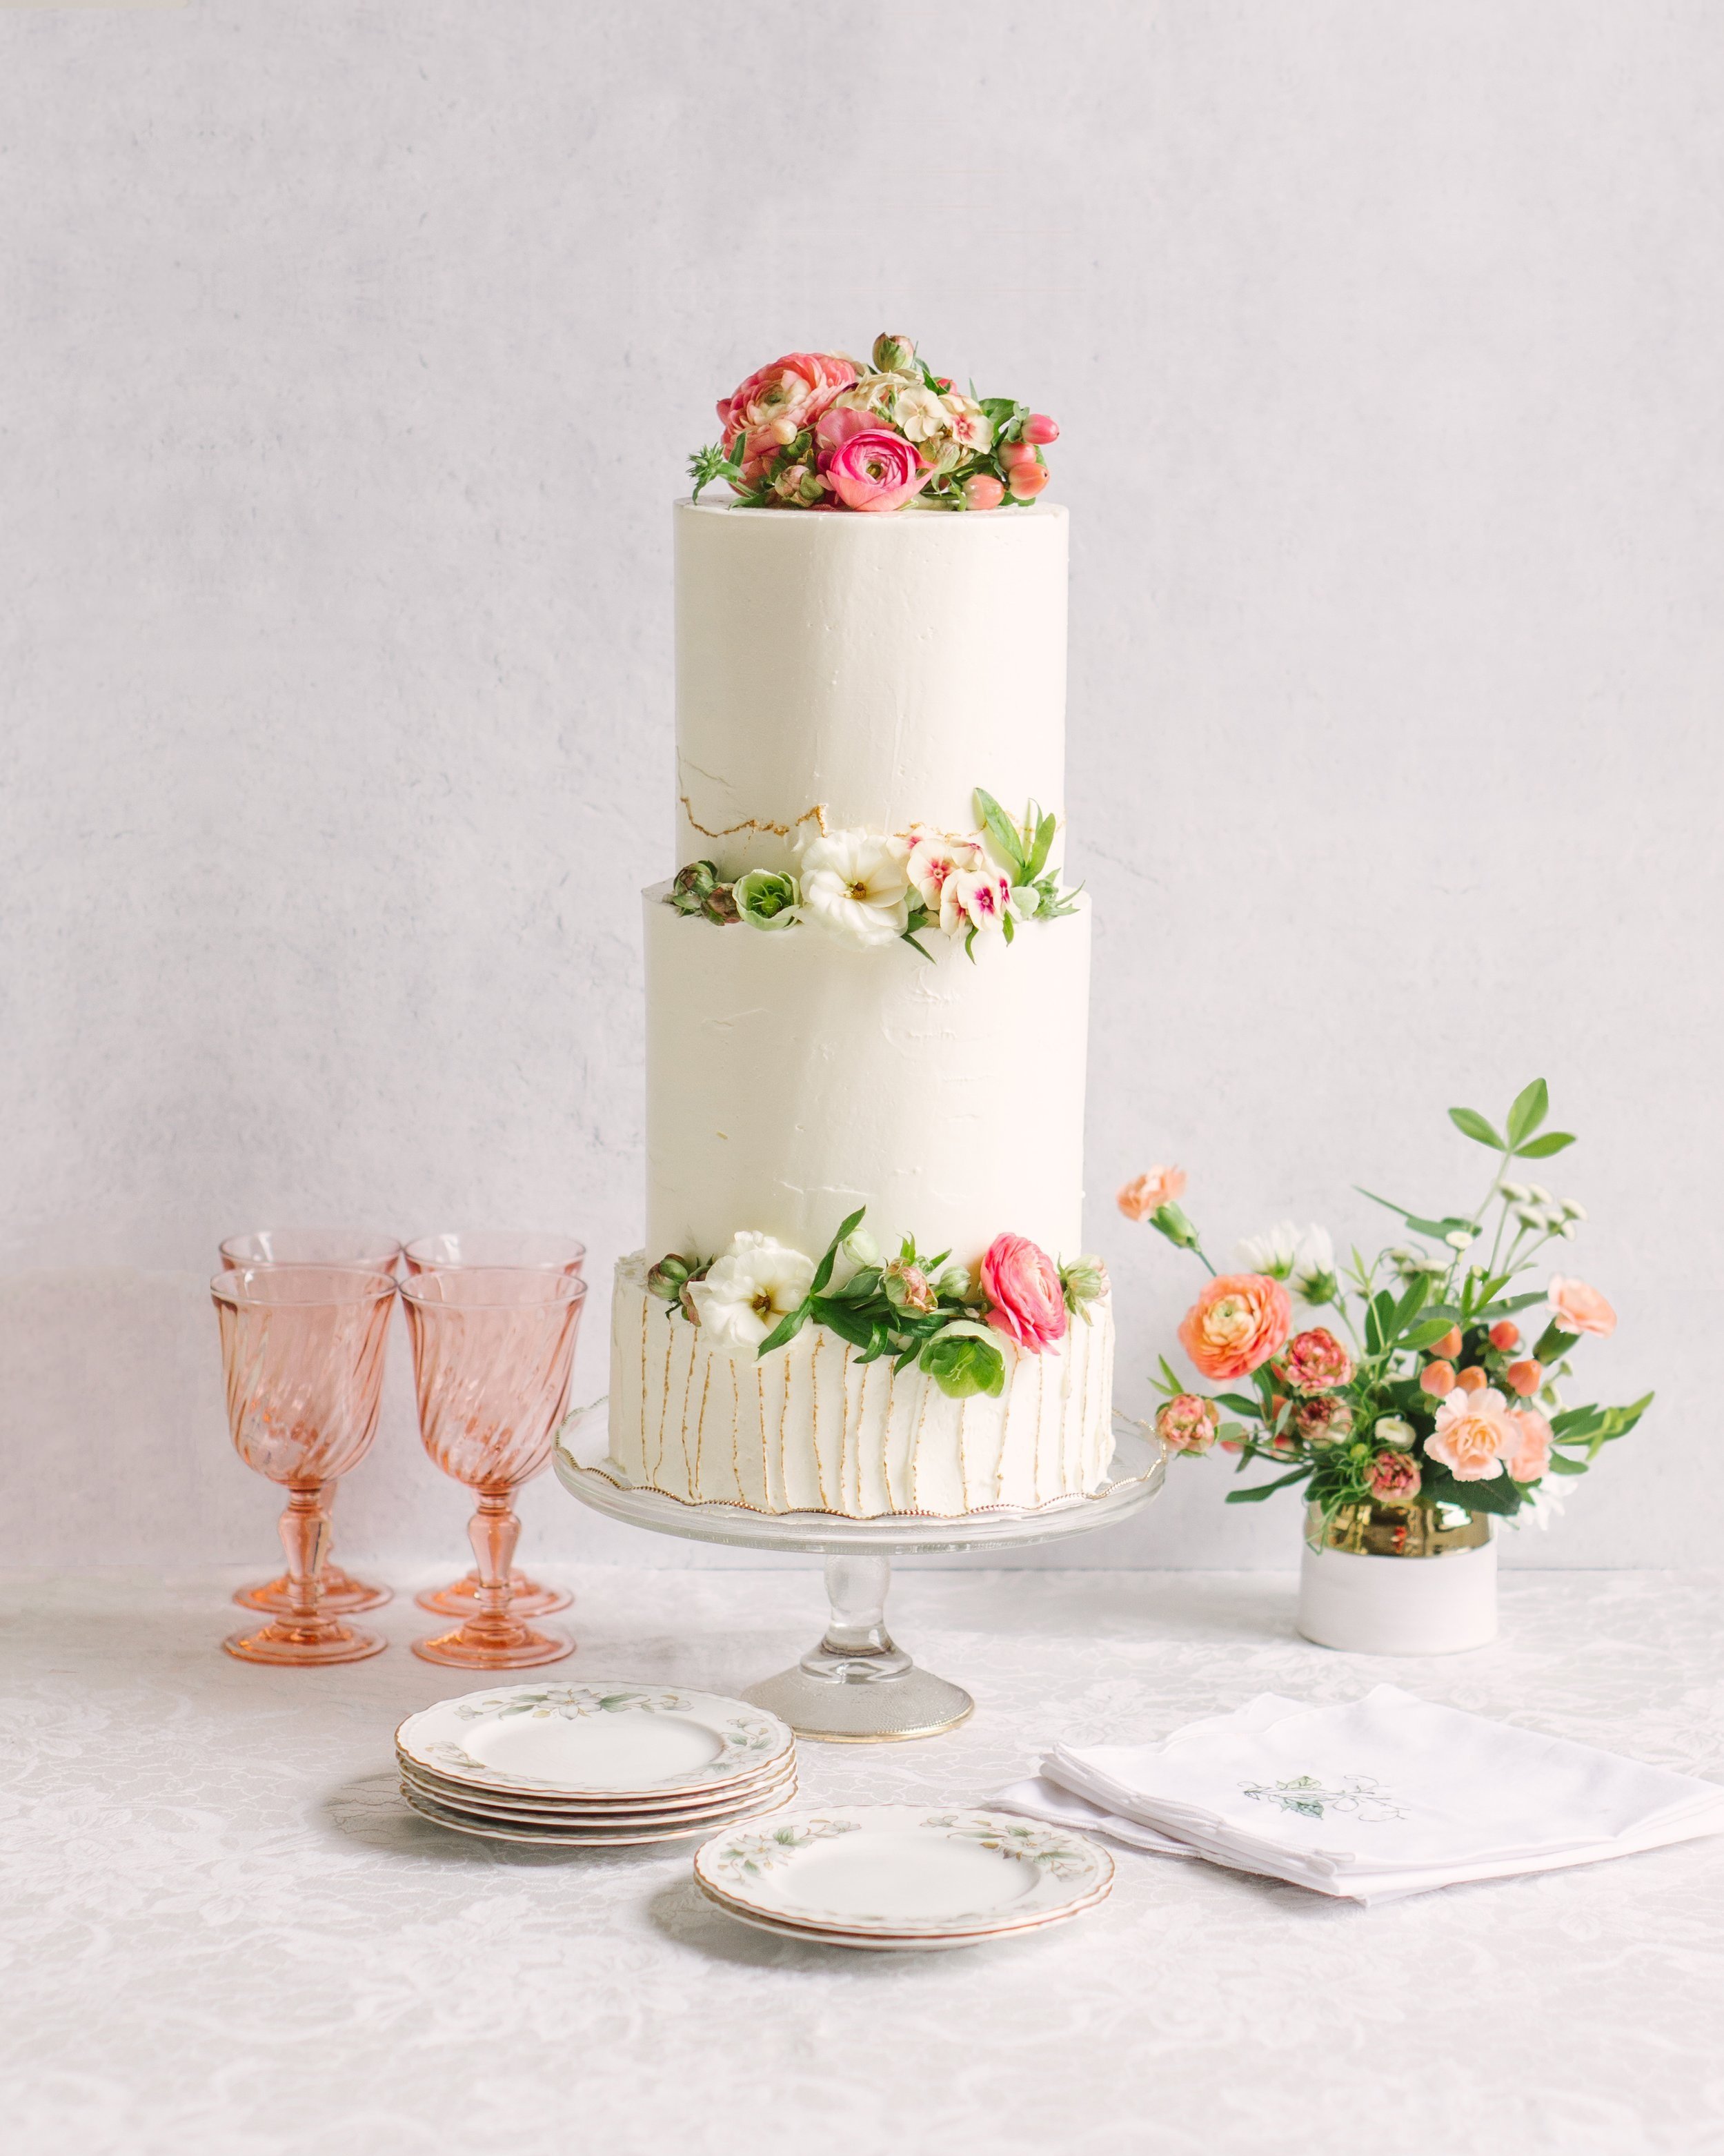
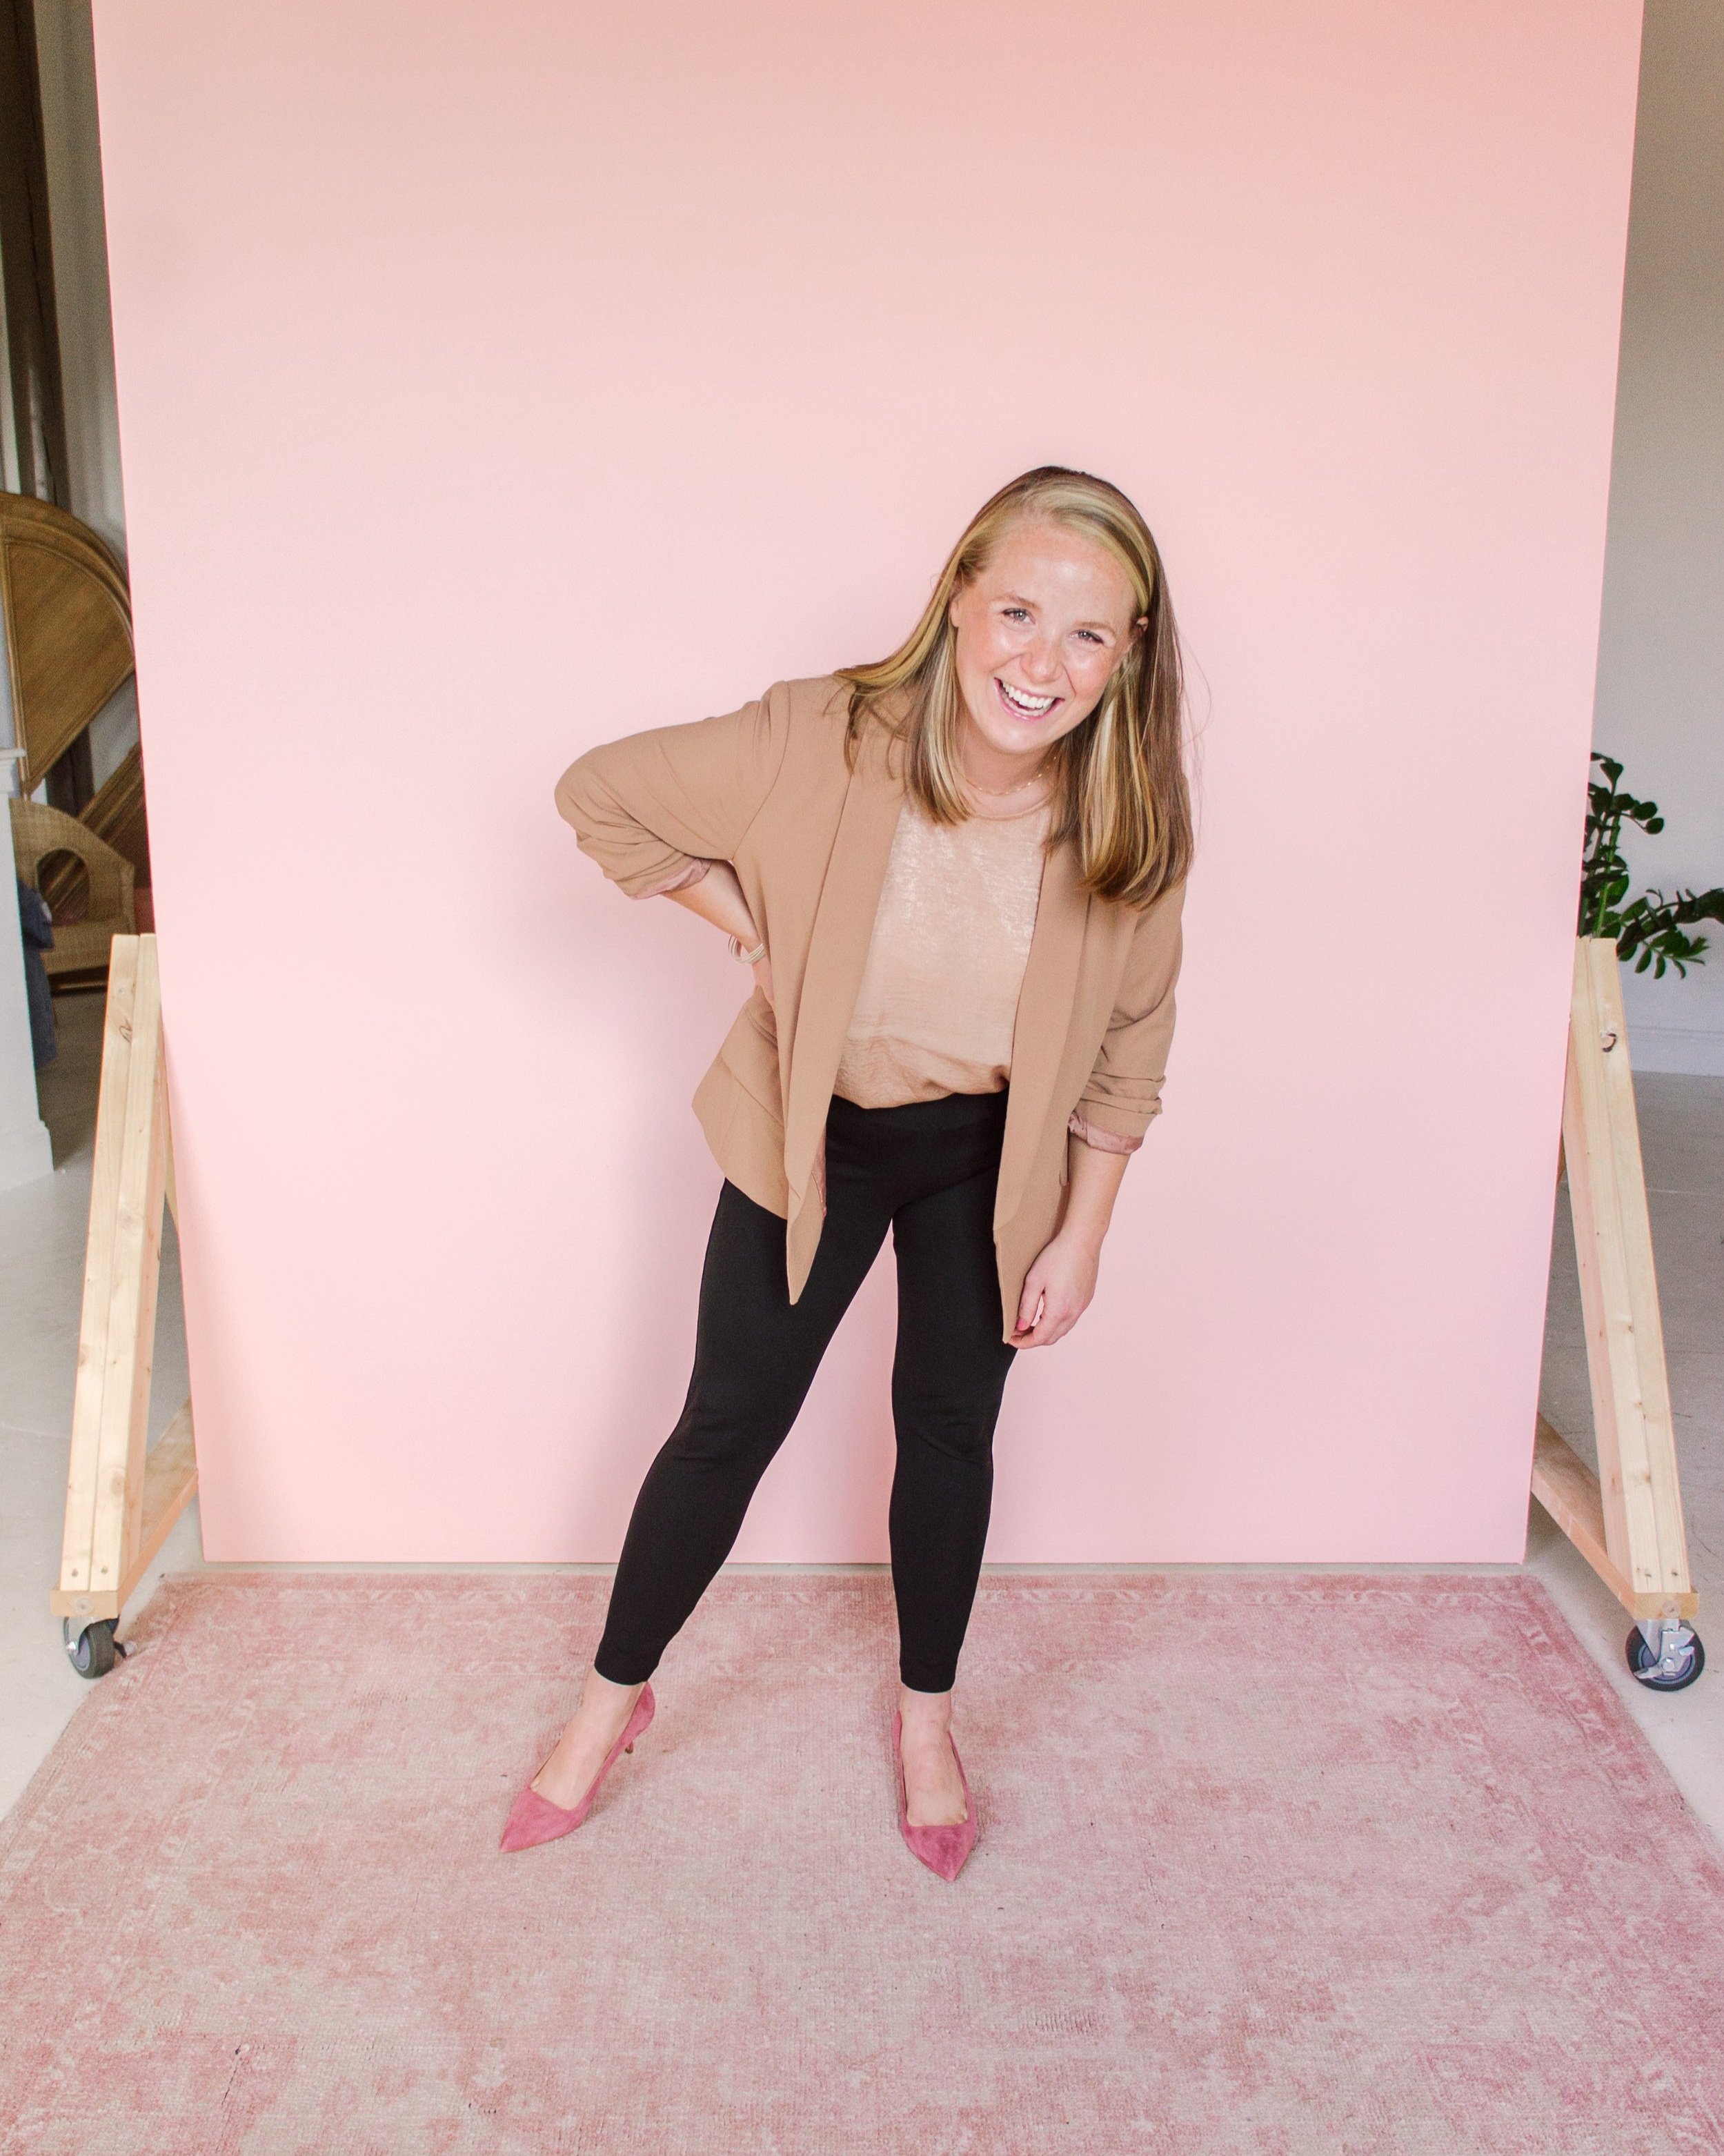
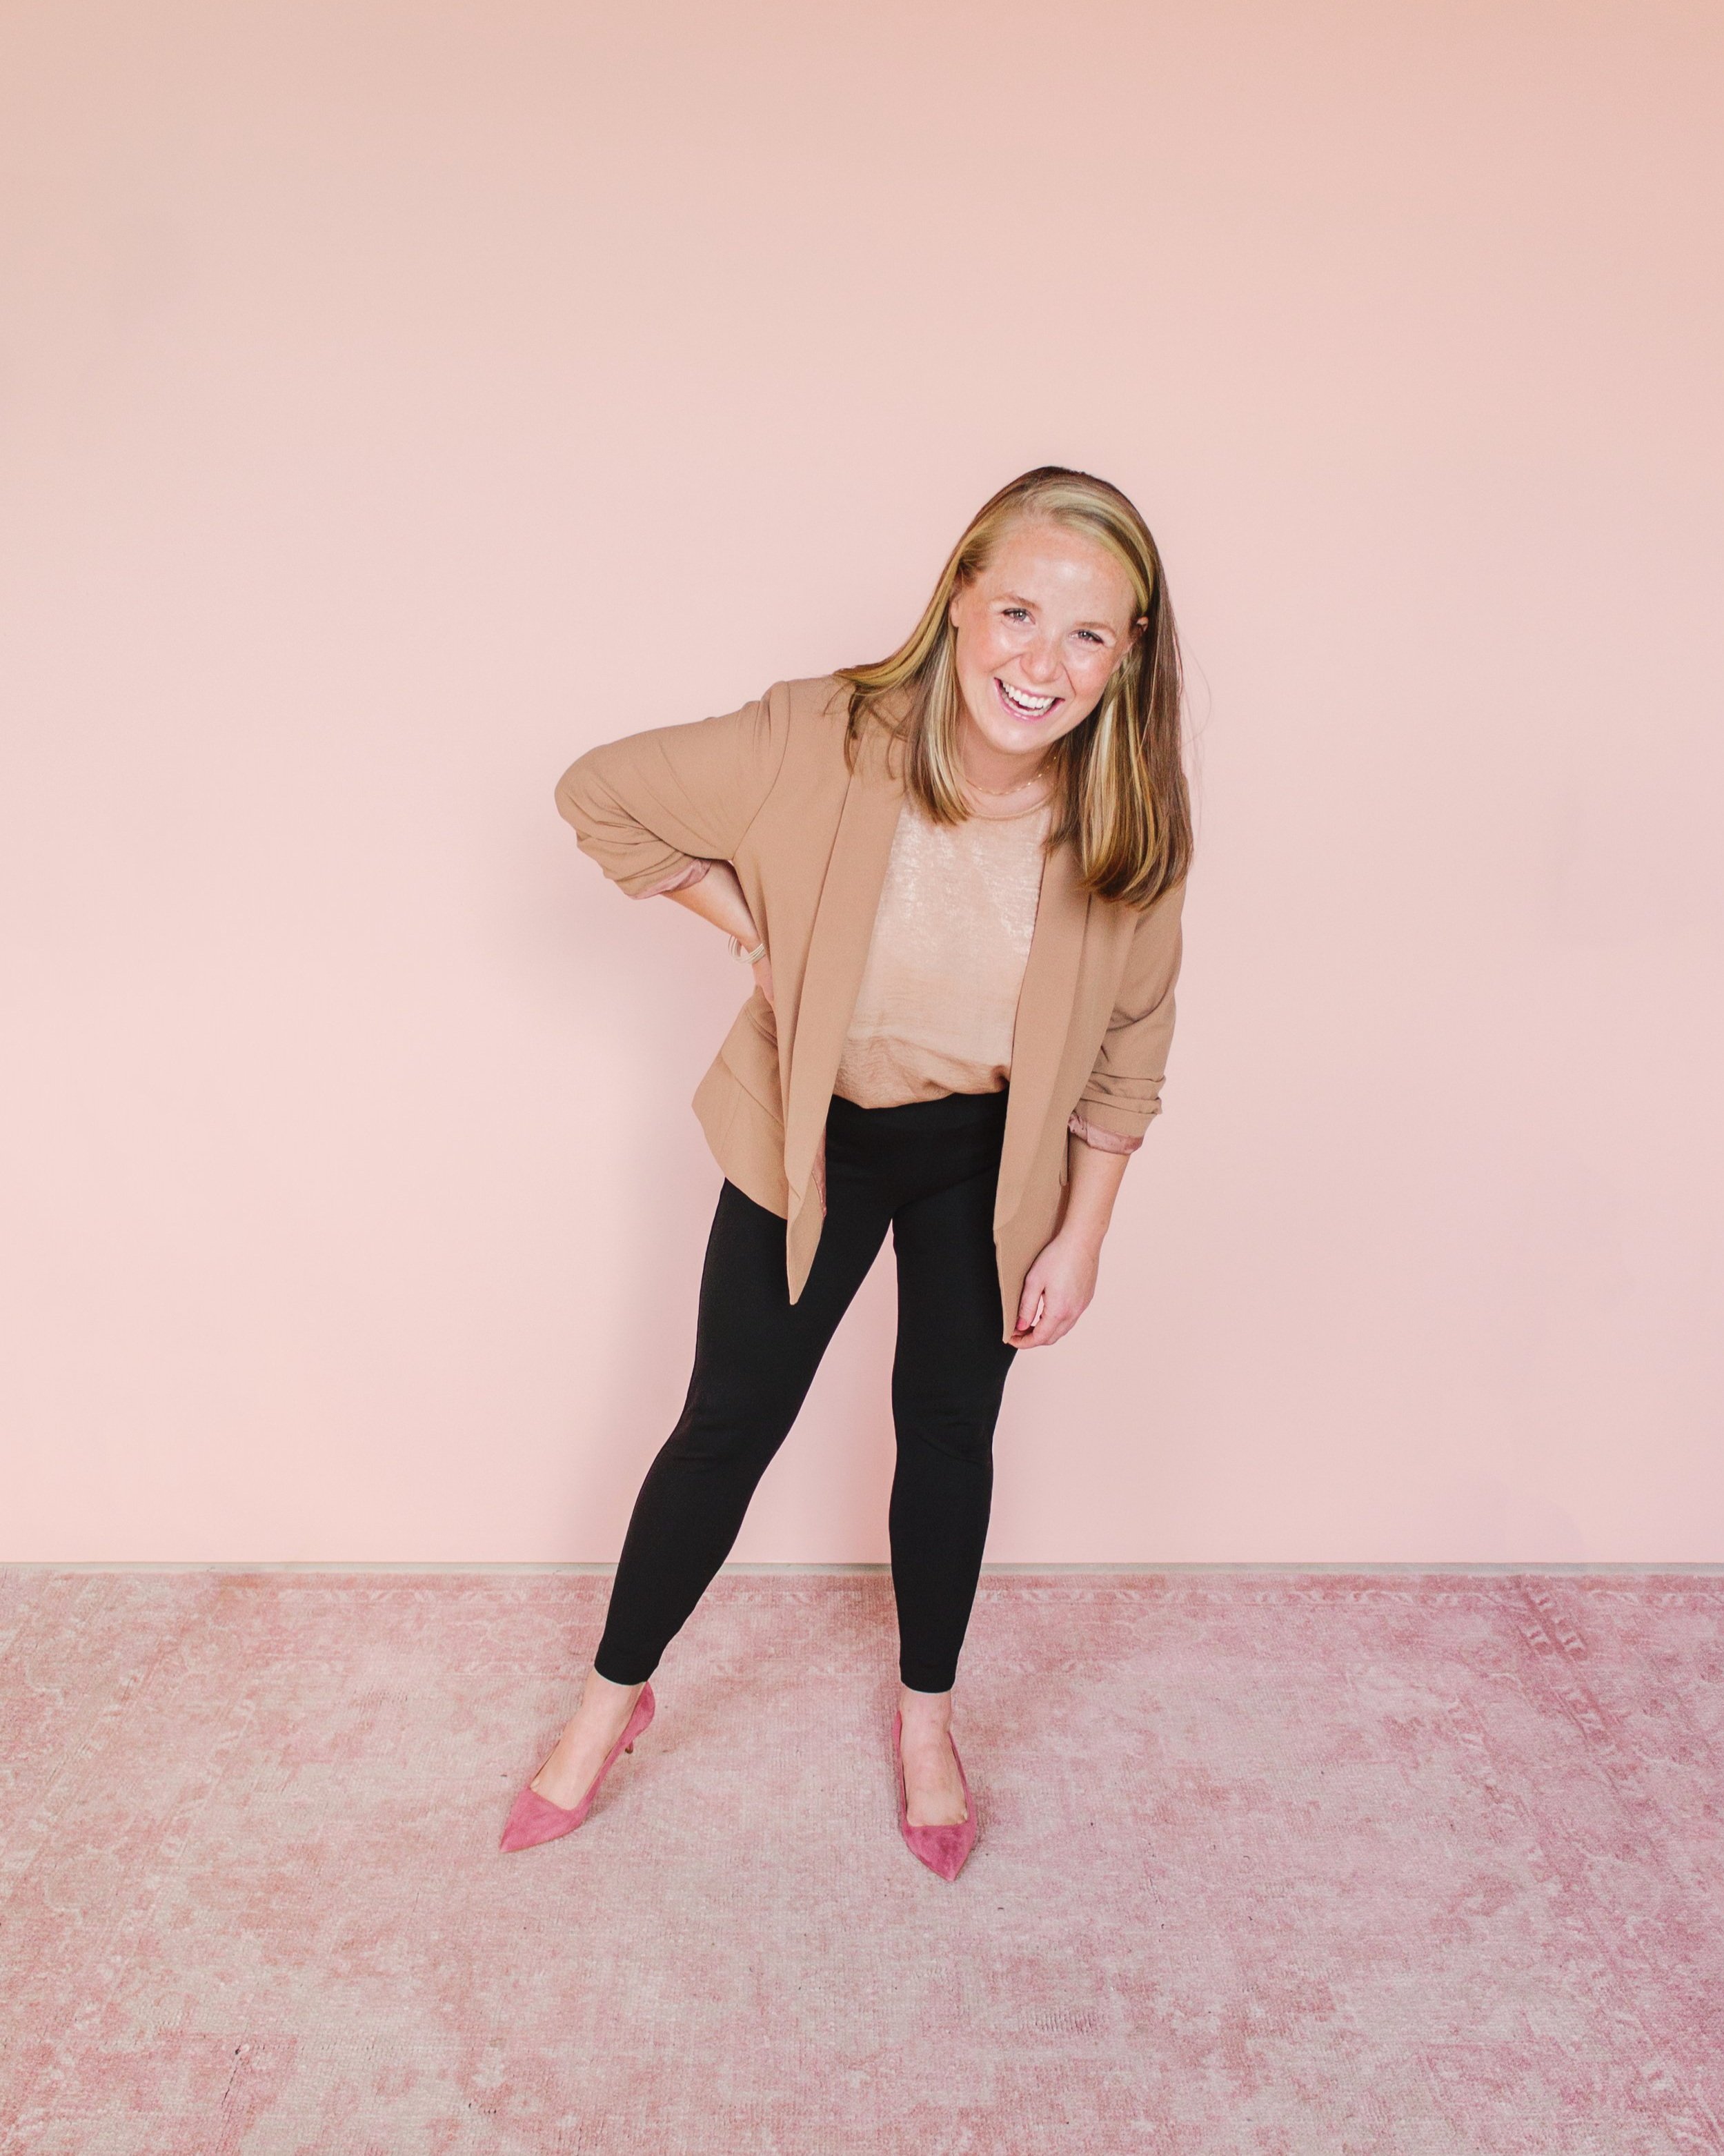
Here the two images I shared at the top of this post, first with Lightroom edits only, then with Photoshop edits:

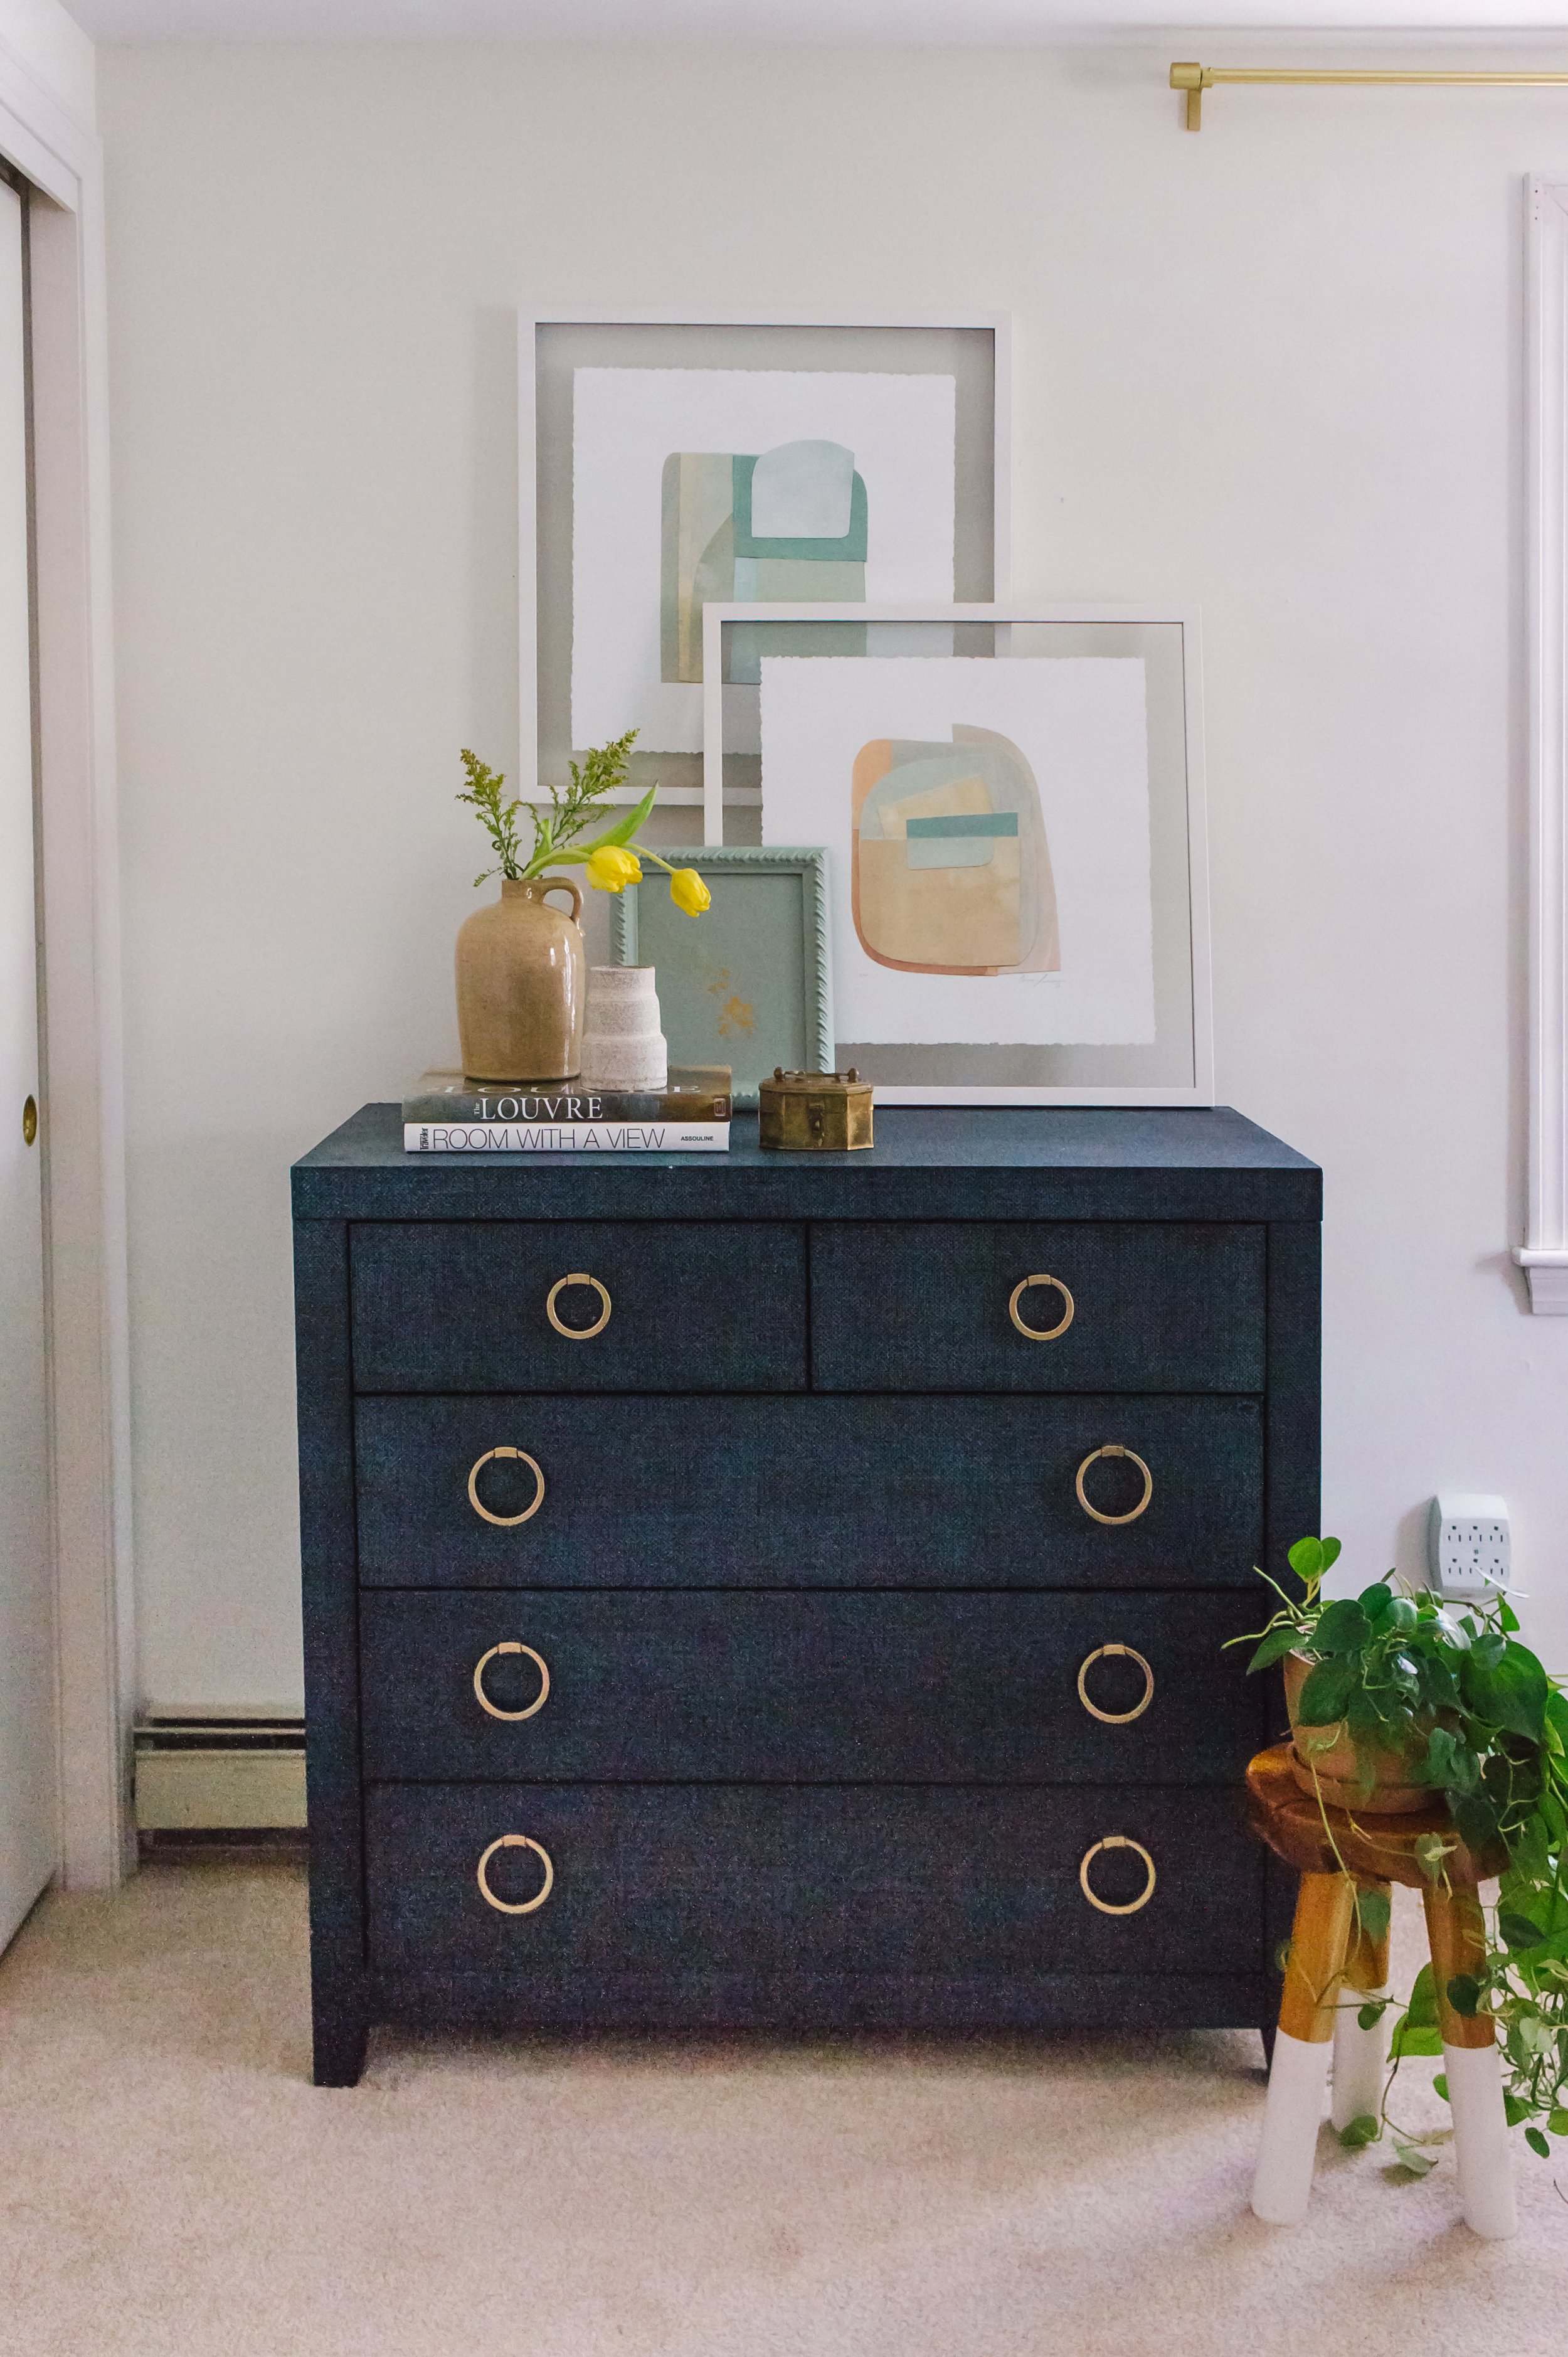
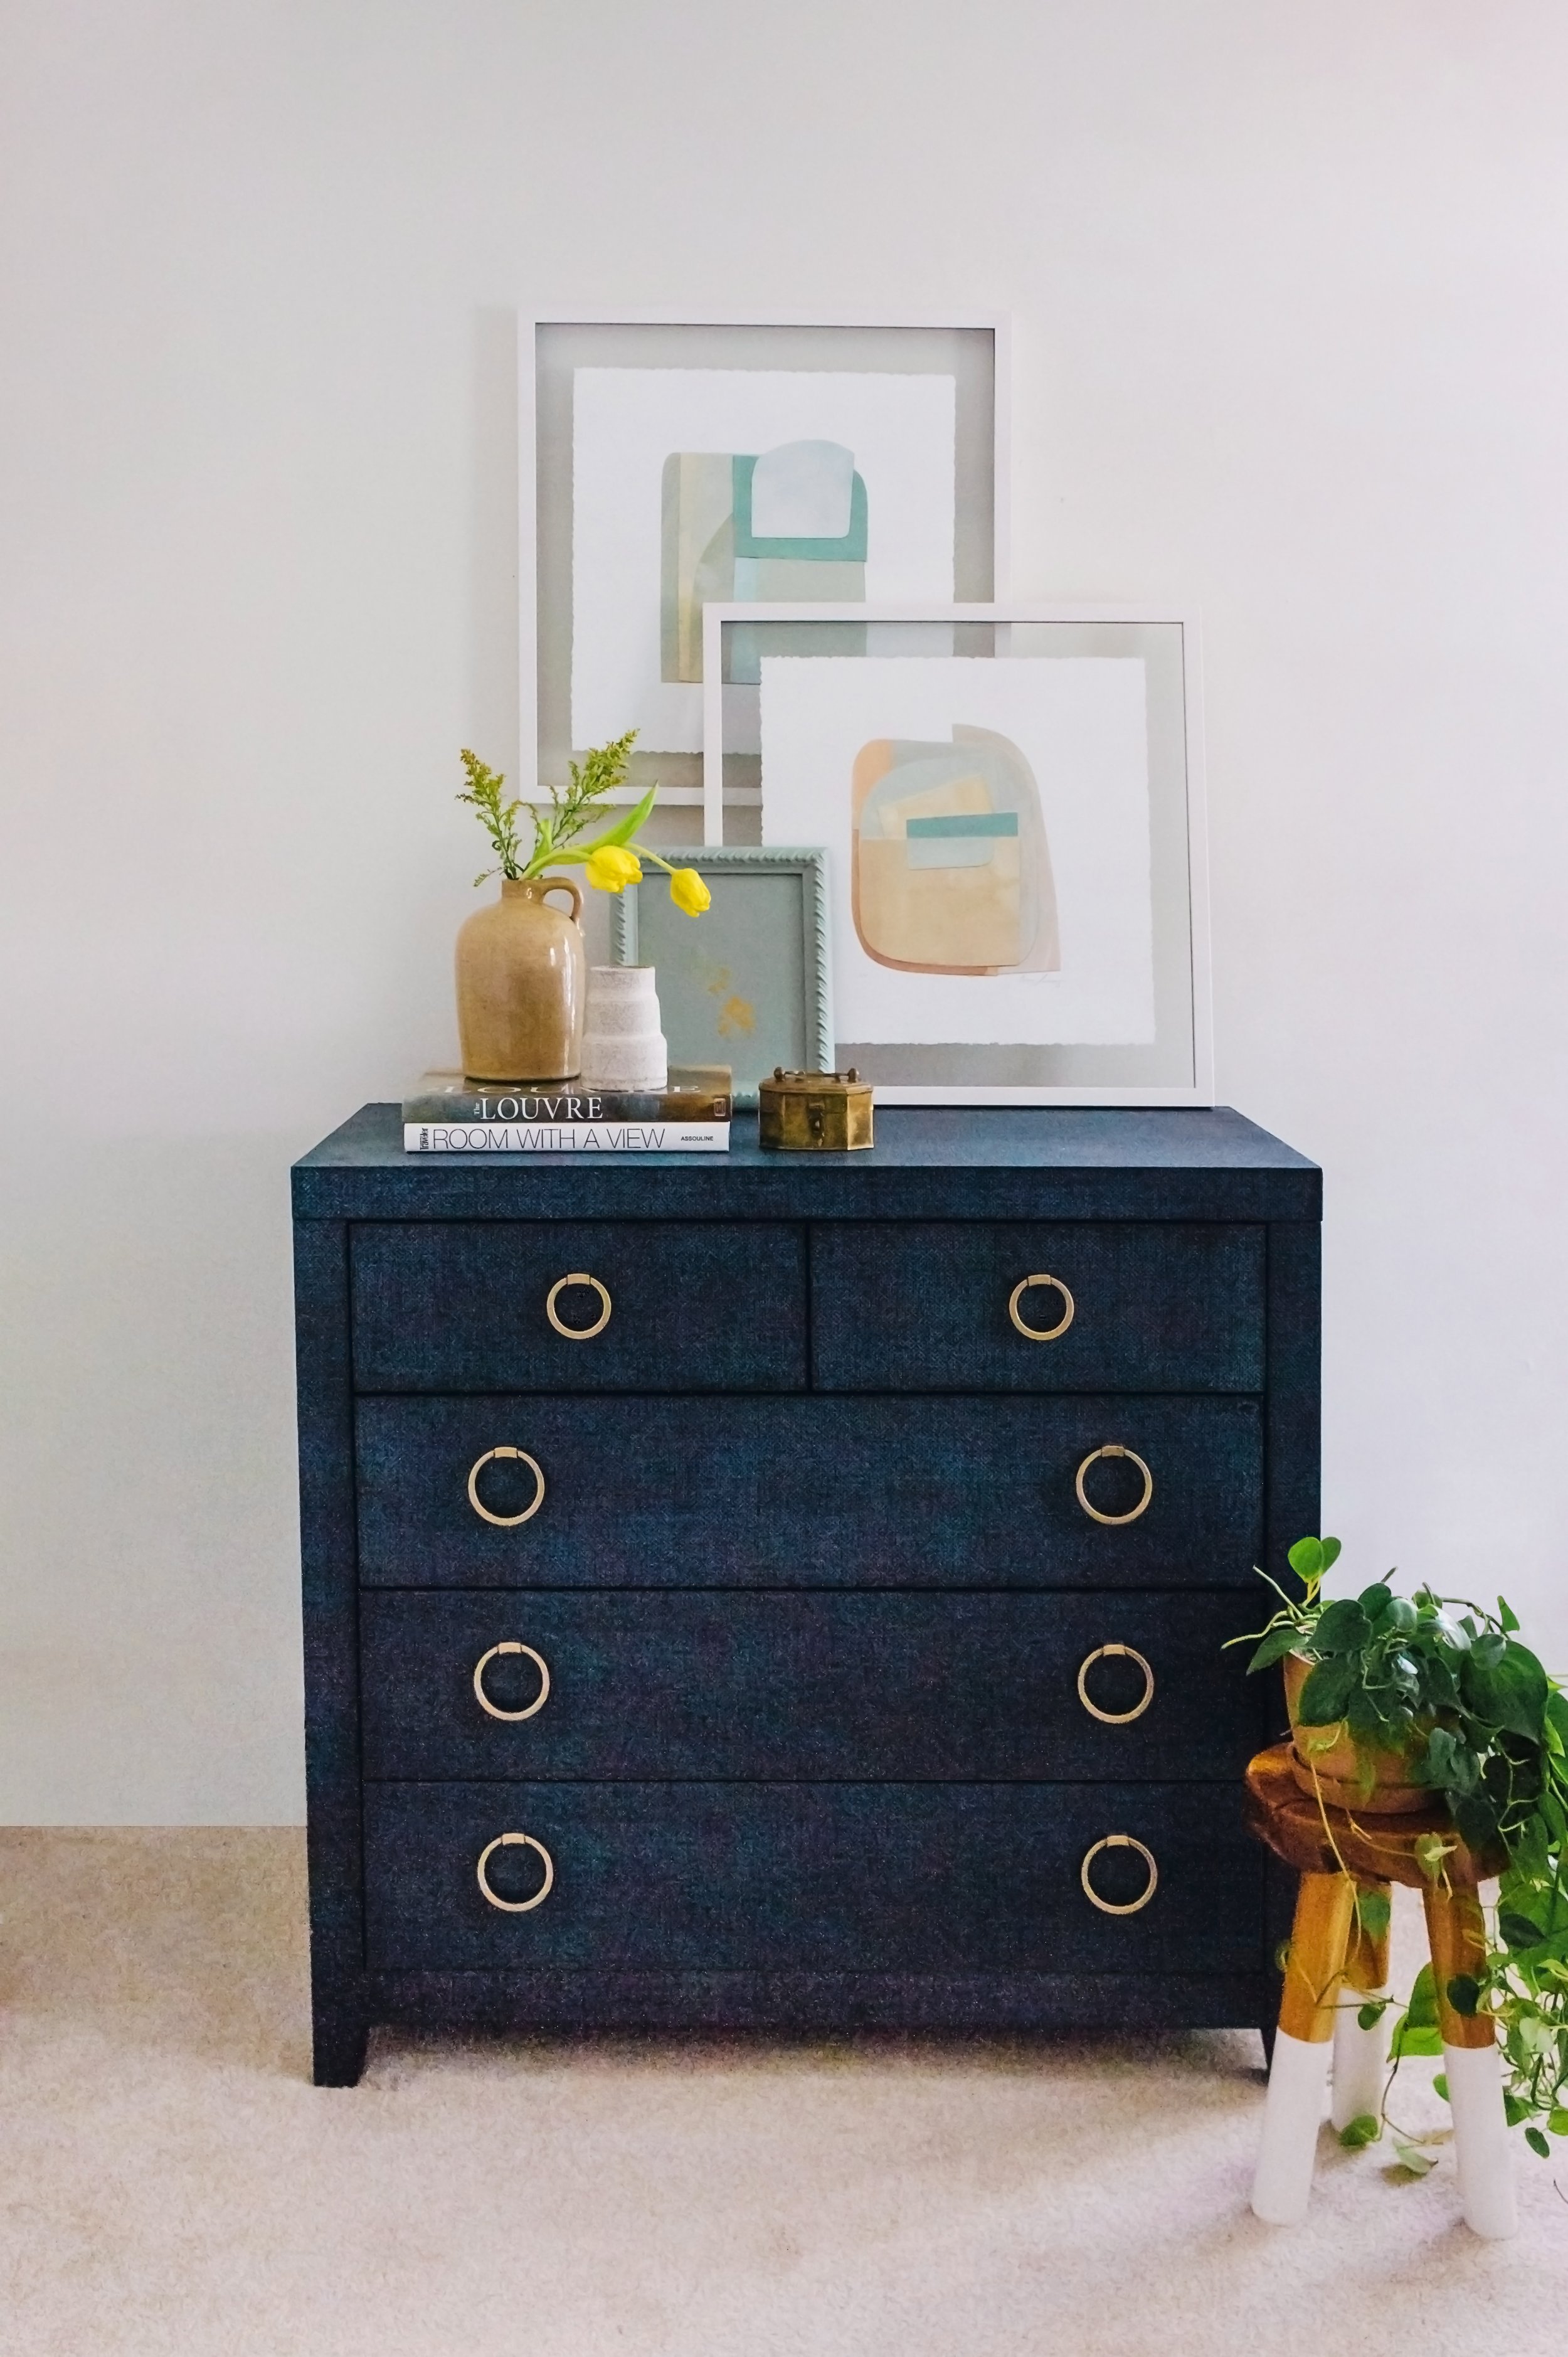
In addition to removing elements like the mirror reflection of myself, the curtain rod, the closet, the window trim and the heater, I brightened, sharpened, and despeckled these images; I evened out the shadows and bright spots on the walls; and I enriched the colors that still looked dull after my edits in Lightroom.
Now here are the same images with no edits, and again after all the edits I made between Lightroom and Photoshop:


I Am Not a Miracle Worker
I went into this project with both eyes open. I can’t photograph just anything and then “Photoshop it” to make it look 100X better.
In the case of this shoot, I knew ahead of time approximately how much light I would have, how much space there would be to work, and what my subject matter was going to be, so I could be objective about the kinds of results I’d be able to get.
What I see as a photographer is also different from what the average person sees. Sometimes someone will say, “I don’t know if you can Photoshop this,” thinking the process will be difficult and it’s actually pretty straightforward. Other times, someone will assume I can Photoshop something that I know will take 3+ hours and still not look great when I’m done.


Bottom Line
So what’s the bottom line here, anyway? I think there are several takeaways you can actionably leverage for your next brand photo shoot:
“Editing” and “Photoshopping” aren’t the same thing. All photographers edit, but not all of them Photoshop.
If you think something may need to be “Photoshopped,” you may just want to re-think the image. Consider a different location, angle, or outfit so that the “problem” isn’t a problem anymore. This way you won’t have to worry about whether Photoshopping will make or break the image.
If you can’t change the “problem” you’ll want Photoshopped, check with your photographer to see if that edit is something she can feasibly do within her skill set and ethics, and your budget/timeline.
Was this helpful? Tell me what you discovered by leaving a comment below! Then come over and follow my adventures on Instagram. I’m always sharing tips for your next brand shoot over there first, so don’t miss anything—tap that “follow” button now!

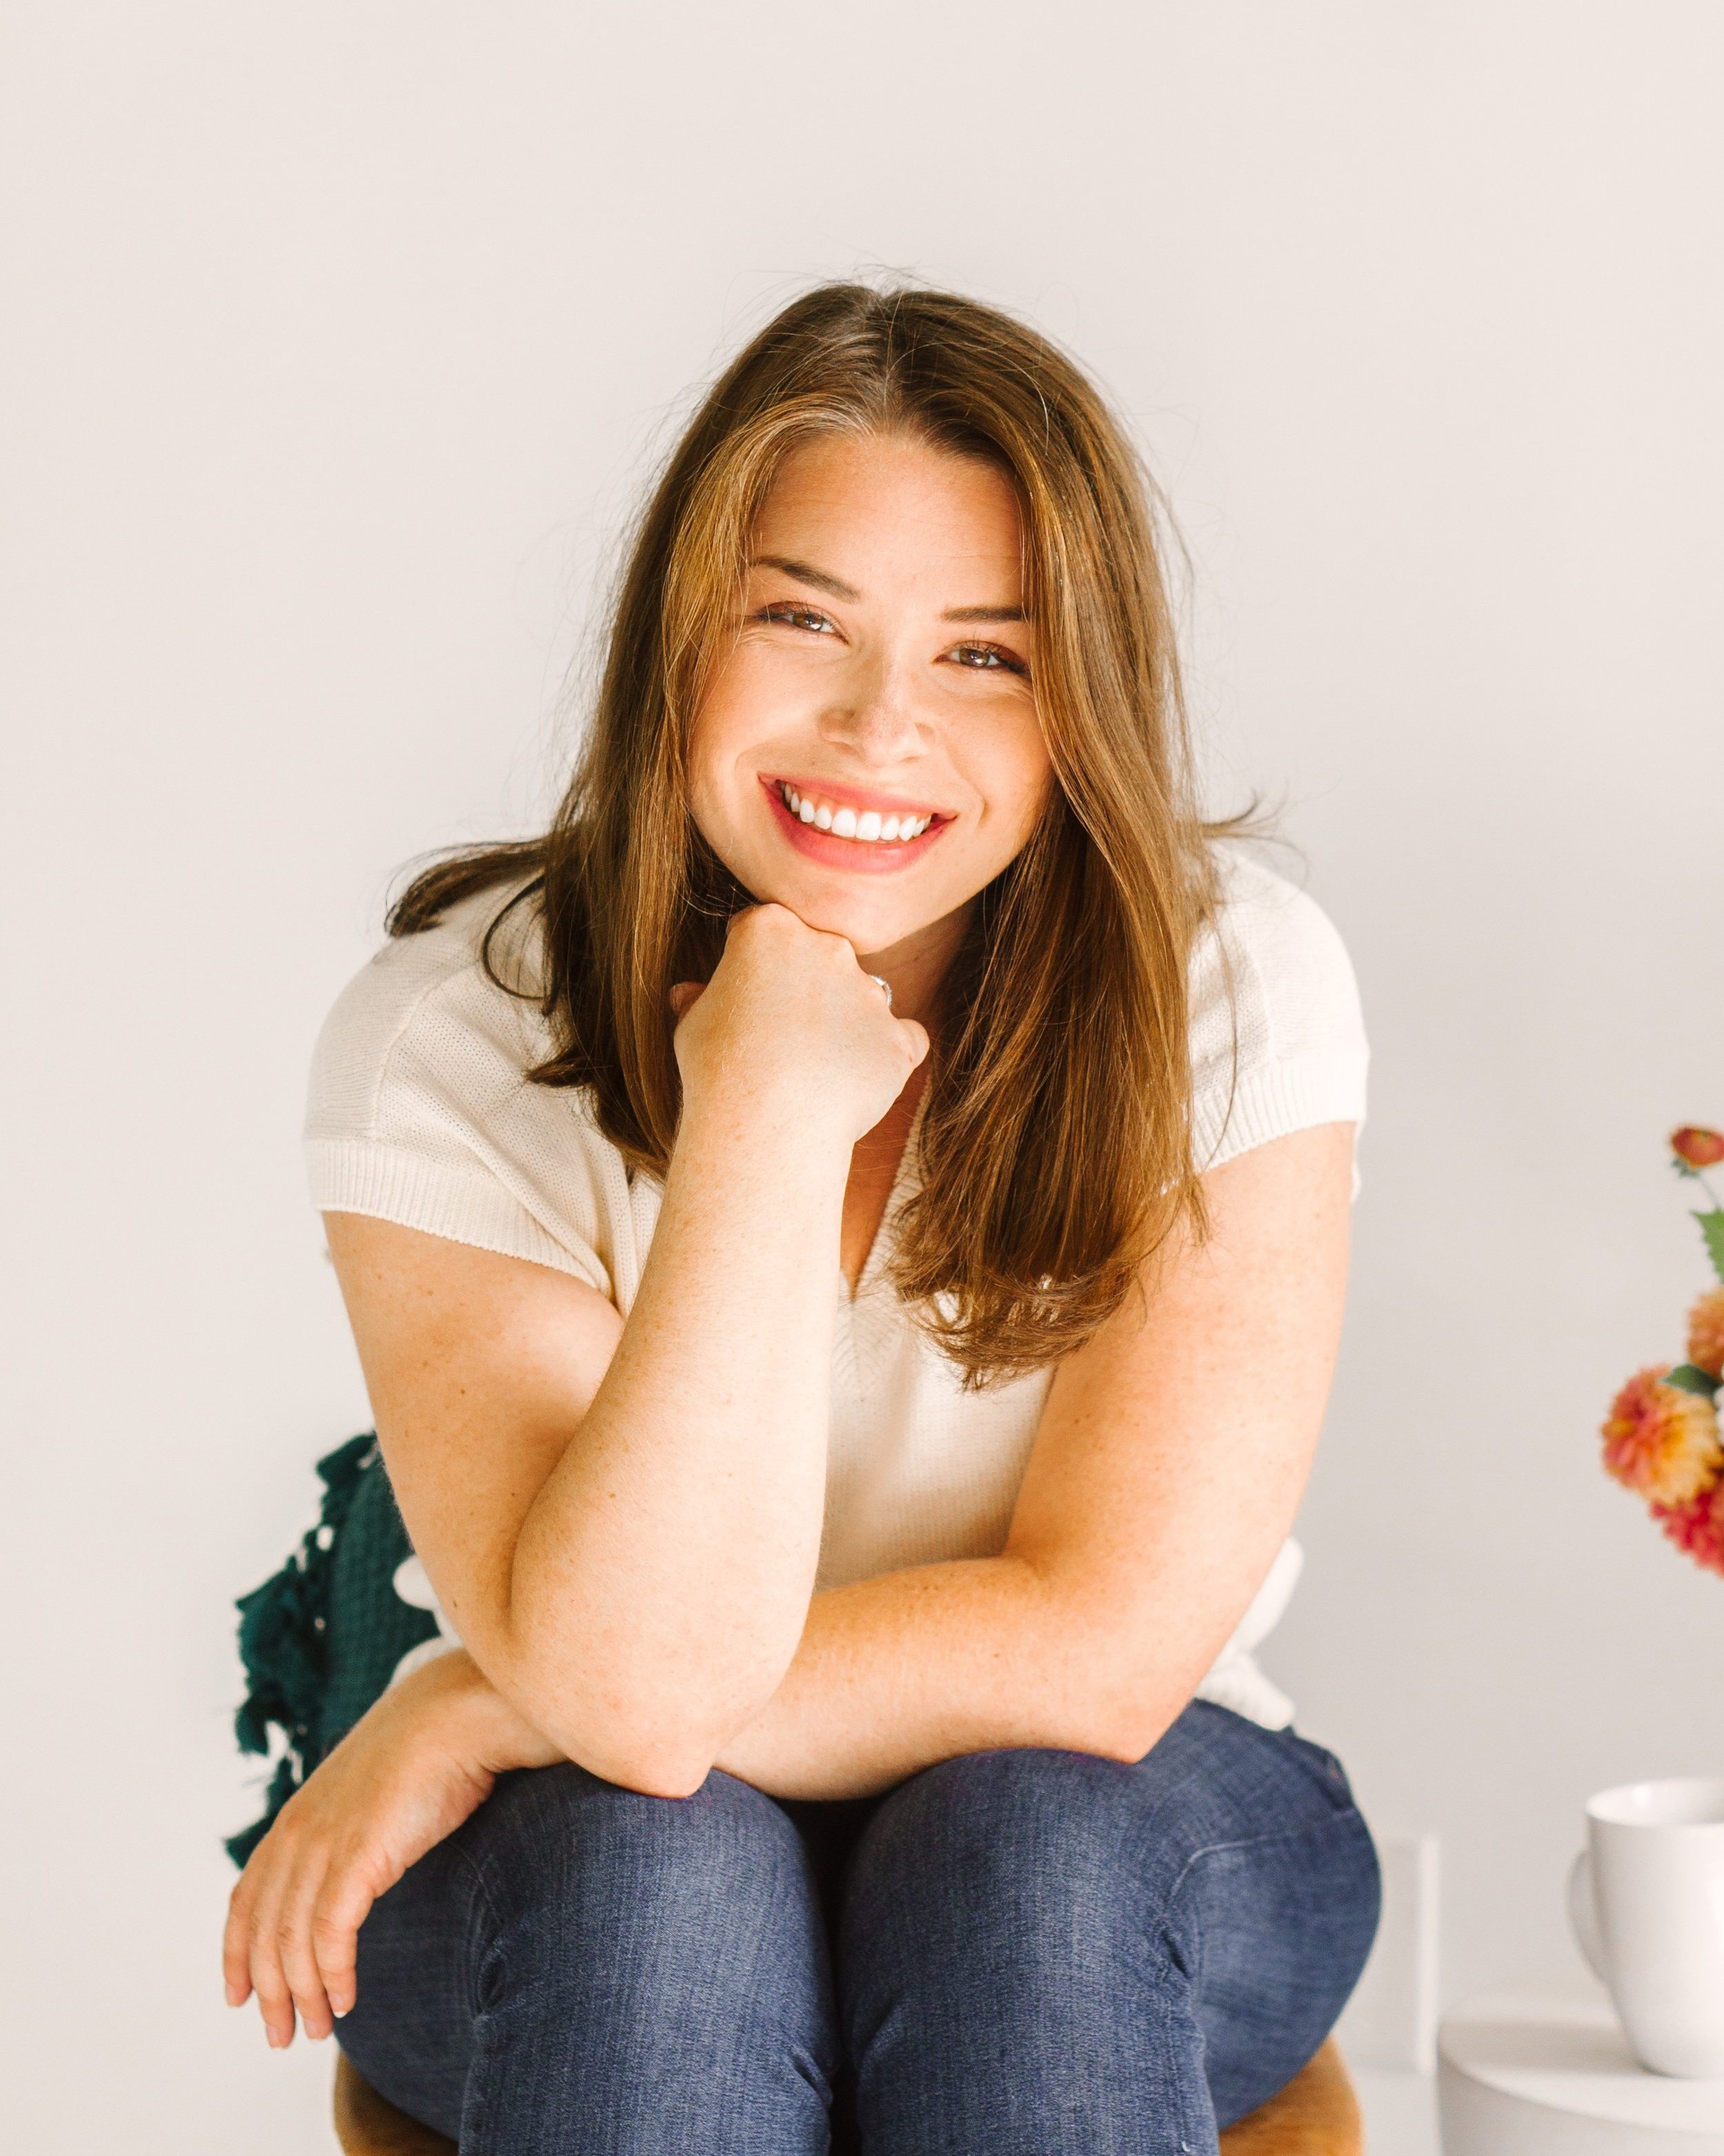
HELLO! MY NAME IS ALEXIS.
Coffee lover, day dreamer, foodie, and creative. I believe in doing what you can with what you have where you are. I blog to help you do more with what you have. I hope you love it here!


Want to try passive income by selling online courses? Keep your overhead low with this plugin!